Collections – Data Driven Styling
Visualising data can be tricky but with data driven styling you can easily differentiate between your records according to the type of data used. Adding data driven styling to your project is simple.
Customising your Collection
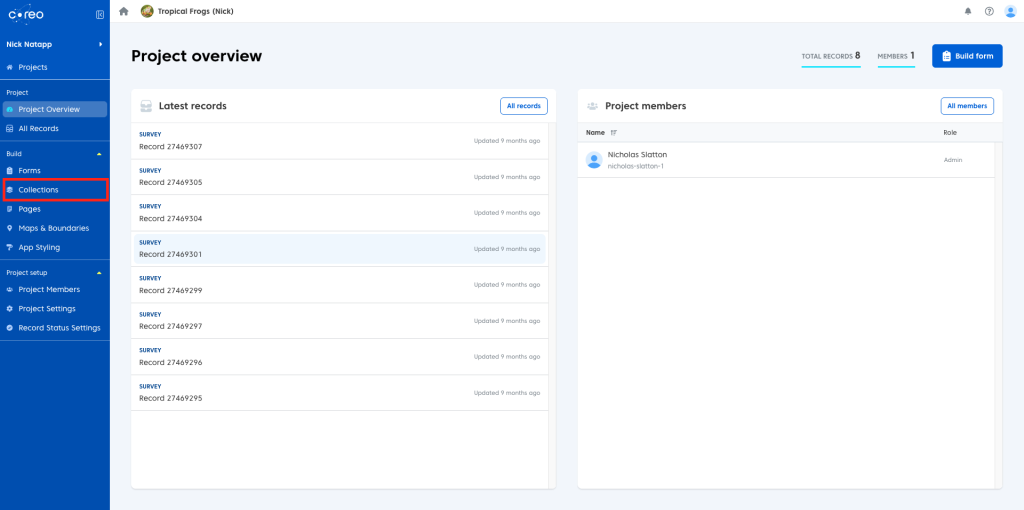
To add data driven styling you must first have a collection. To begin:
- Navigate to your collection.
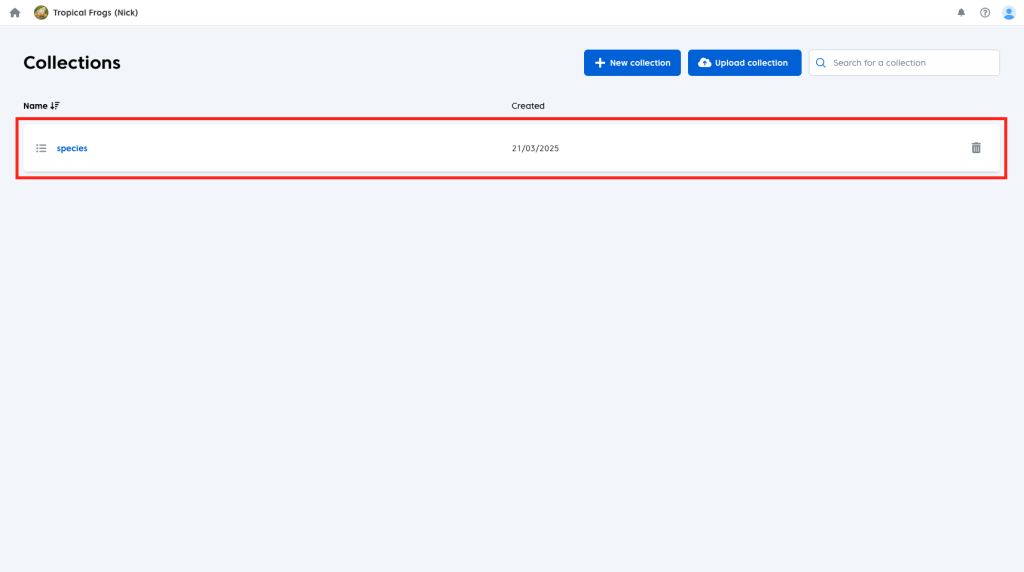
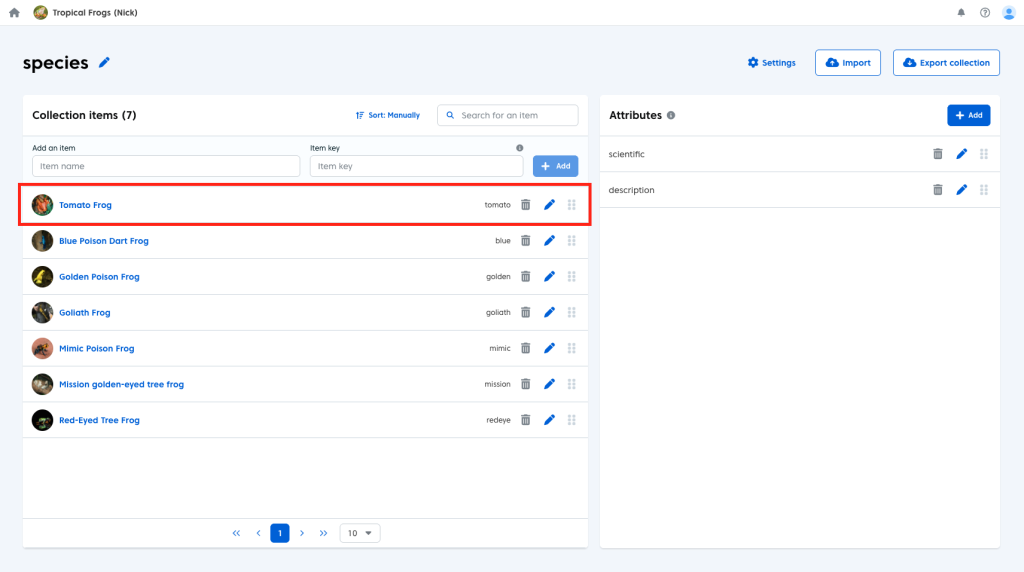
Once you have opened your chosen collection you can begin to add styling to the individual items therein:
- Click the chosen item in your collection.
- Scroll down to the bottom of the page.
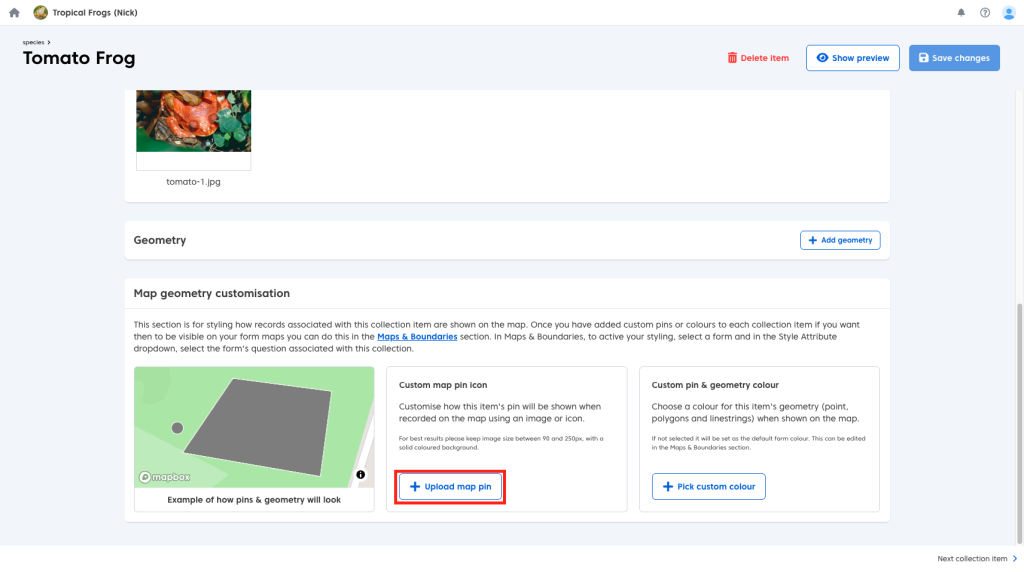
You will now see the ‘Map Geometry Customisation’ options. This is where you can add the styling to your collection item.
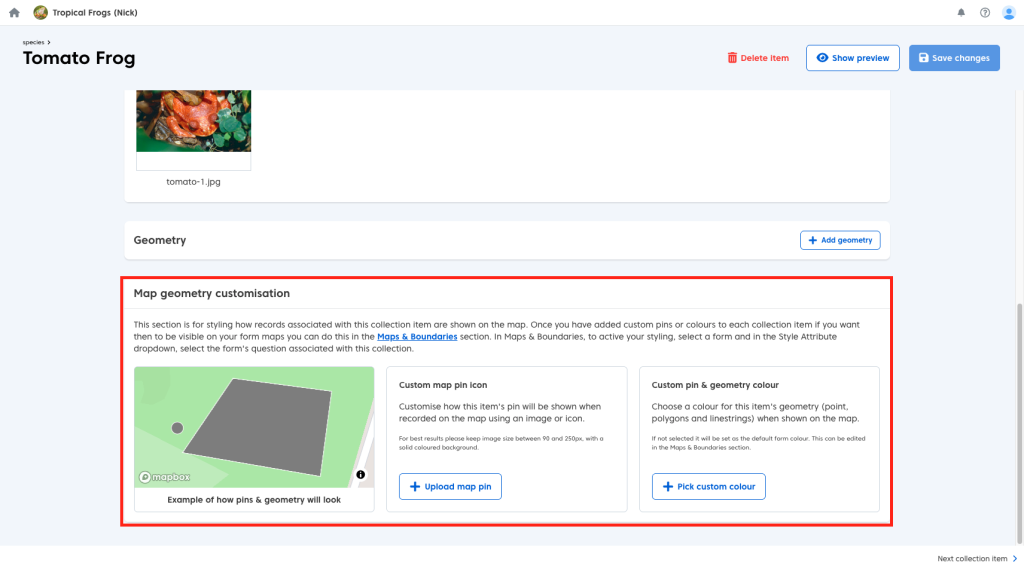
There are two customisation options available. The first, enables you to replace your point geometry associated with the item with an icon of your choice. To add a custom icon:
- Click the ‘Upload custom pin’ button.
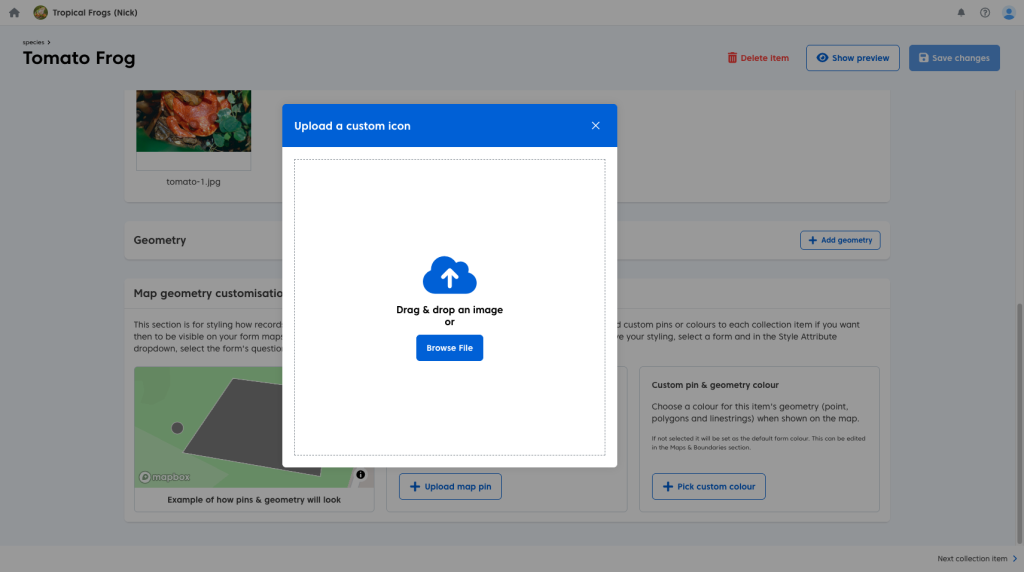
You will then have the option to browse your device for a suitable image or drop it into the box provided.
Once you have selected your image you will have several options to customise your icon. You can:
- Adjust your zoom level using the ‘Zoom’ bar in the bottom left of the box.
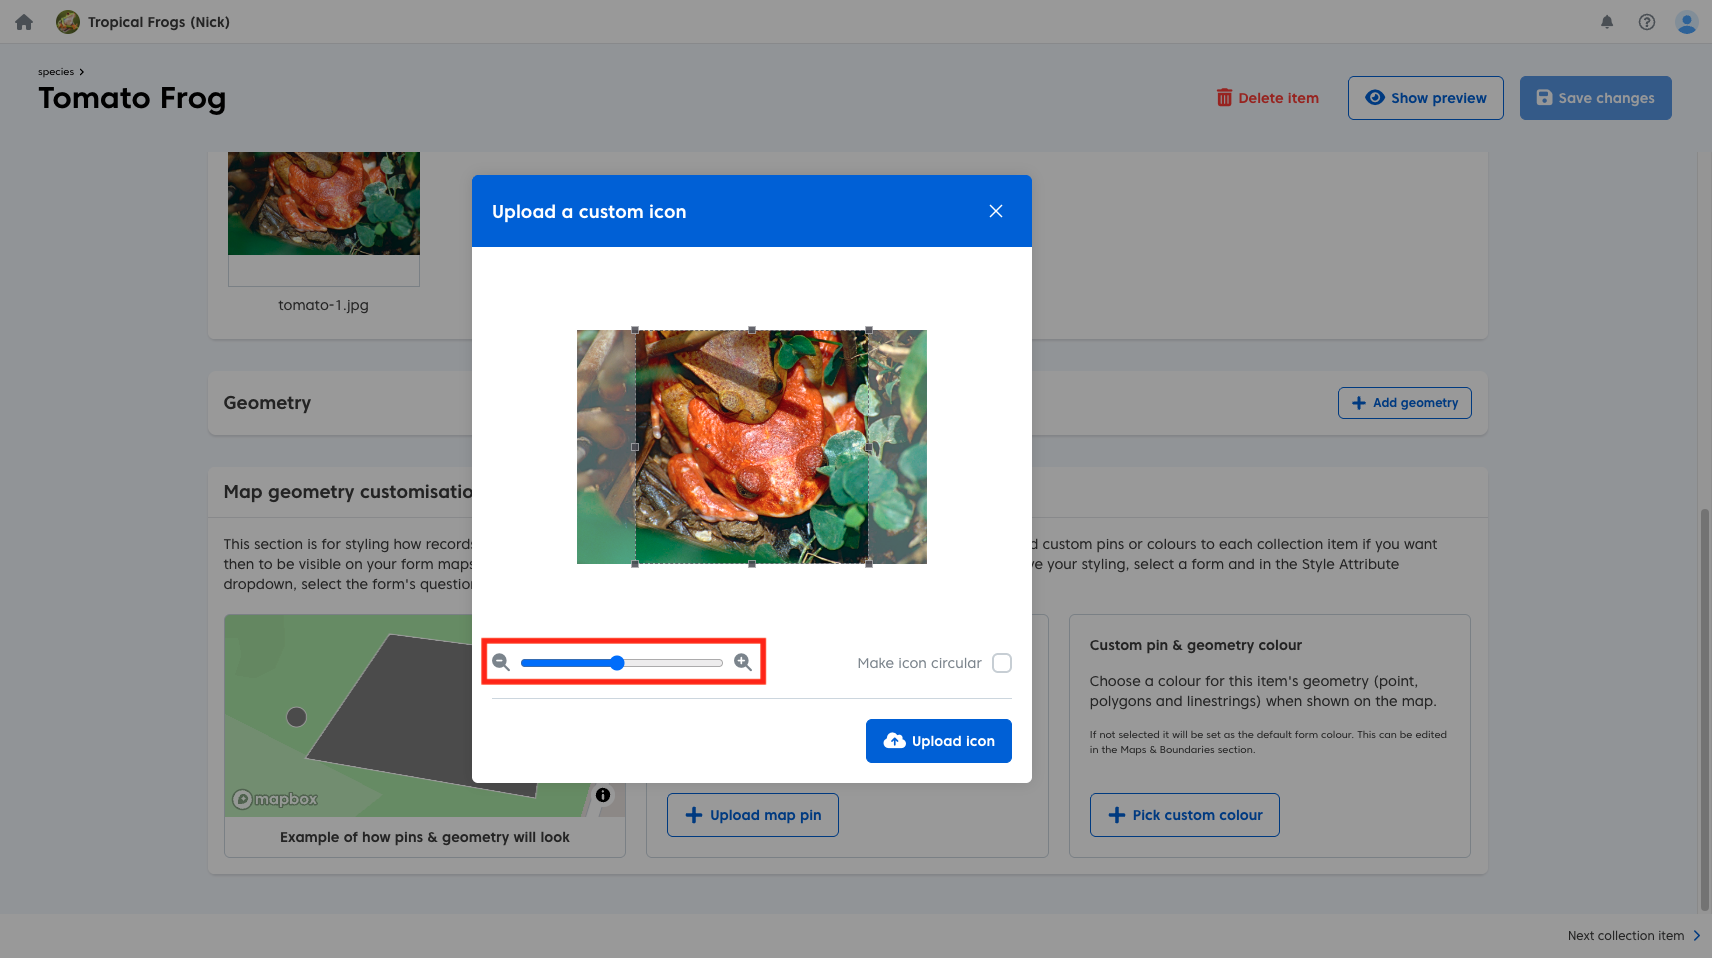
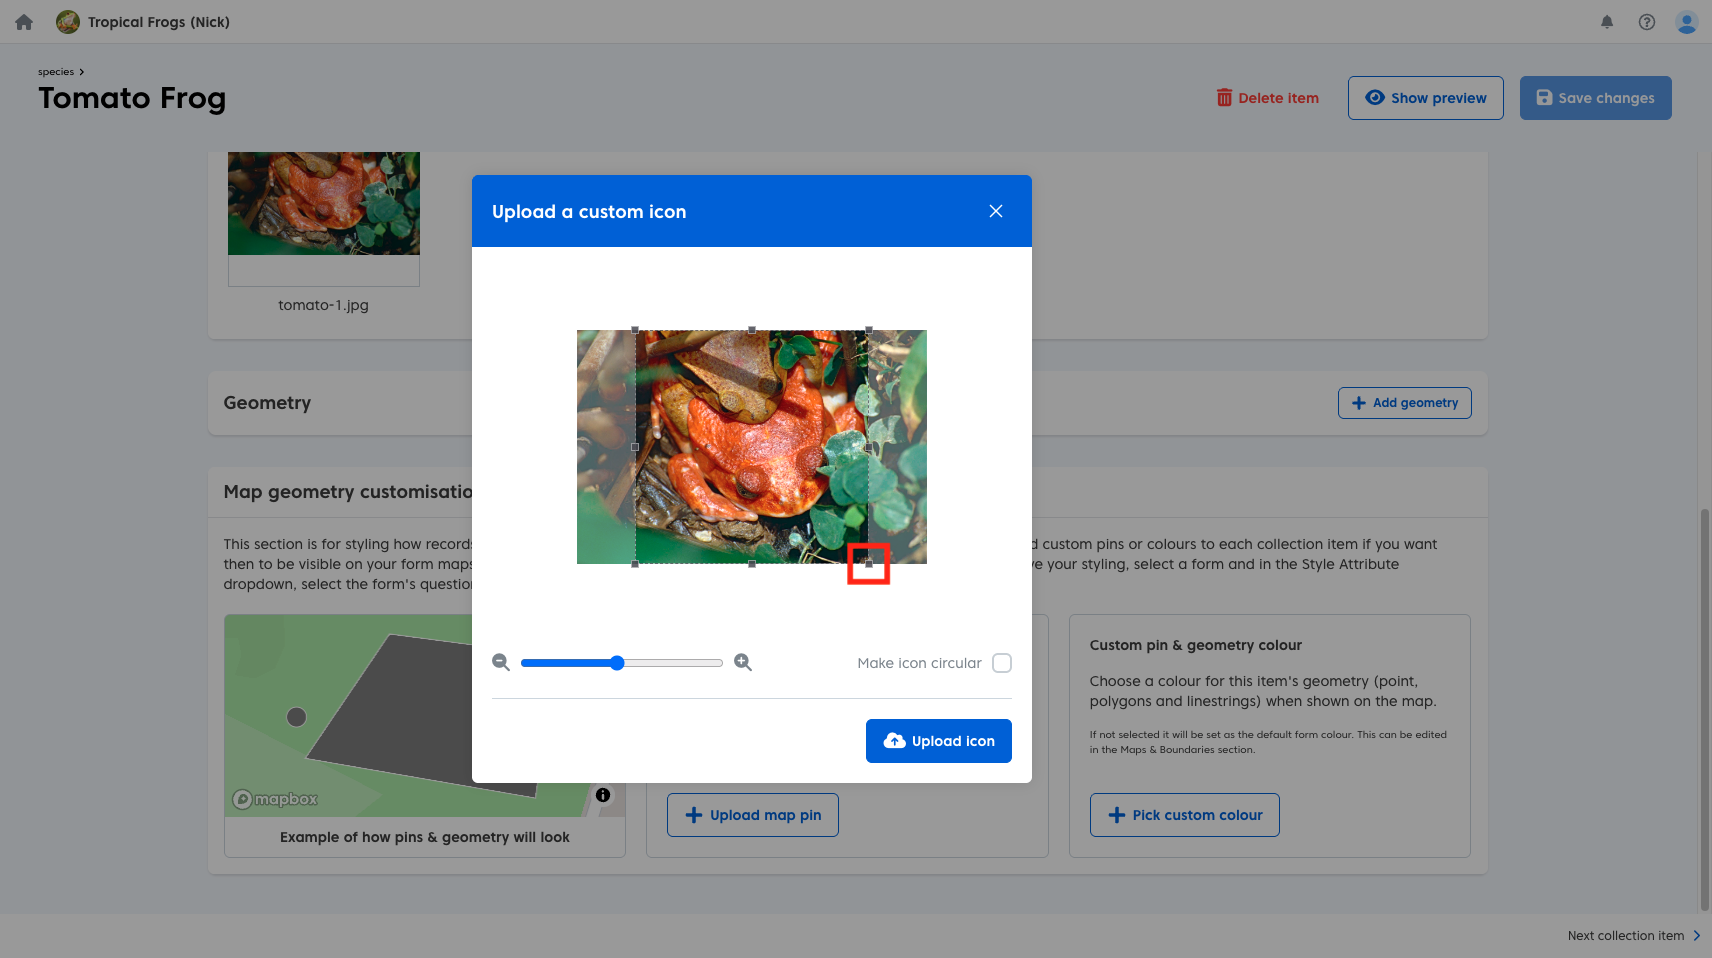
- Crop your image using the provided toggles.
- Change your icon from a square to circular using the tick box.
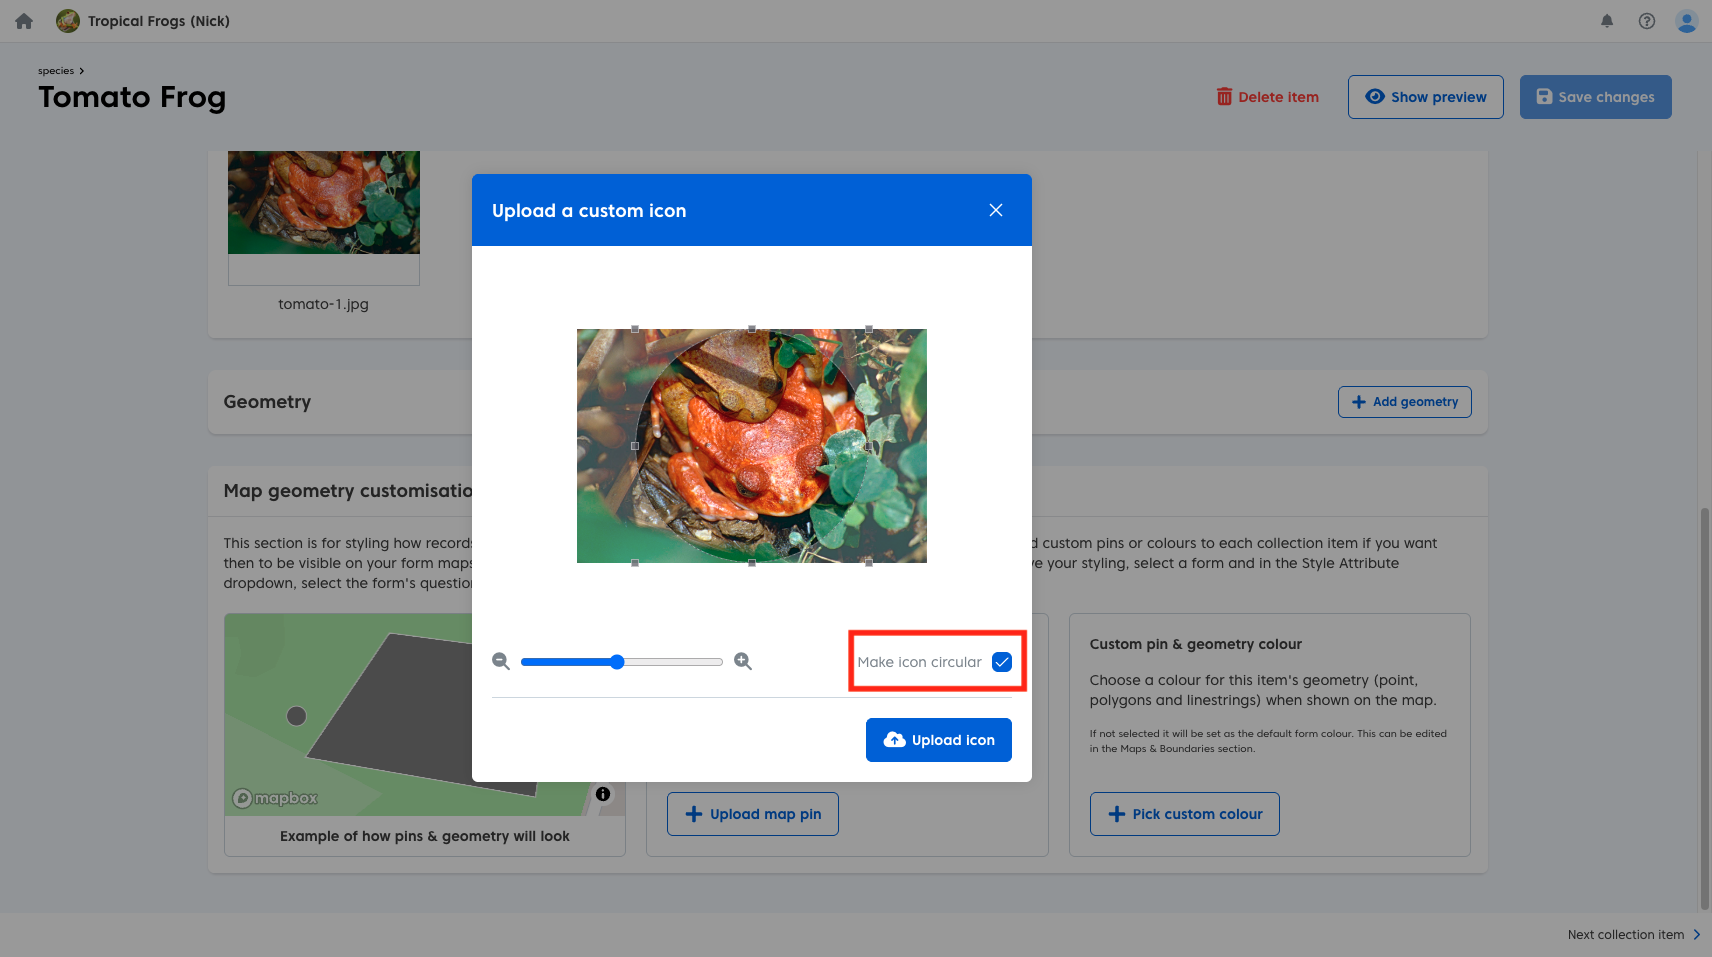
Once your new icon is ready:
- Click the blue ‘Upload Icon’ button.
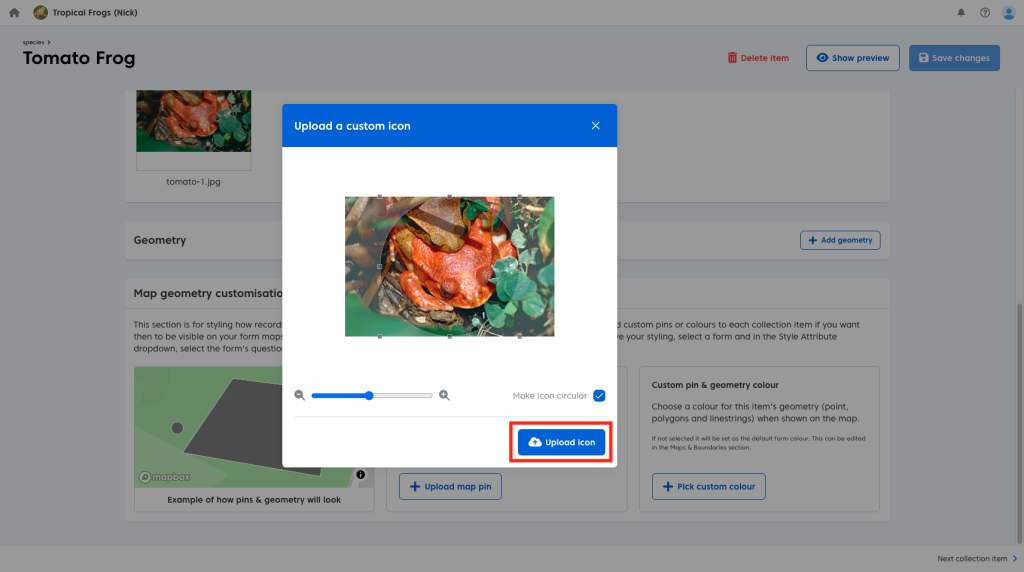
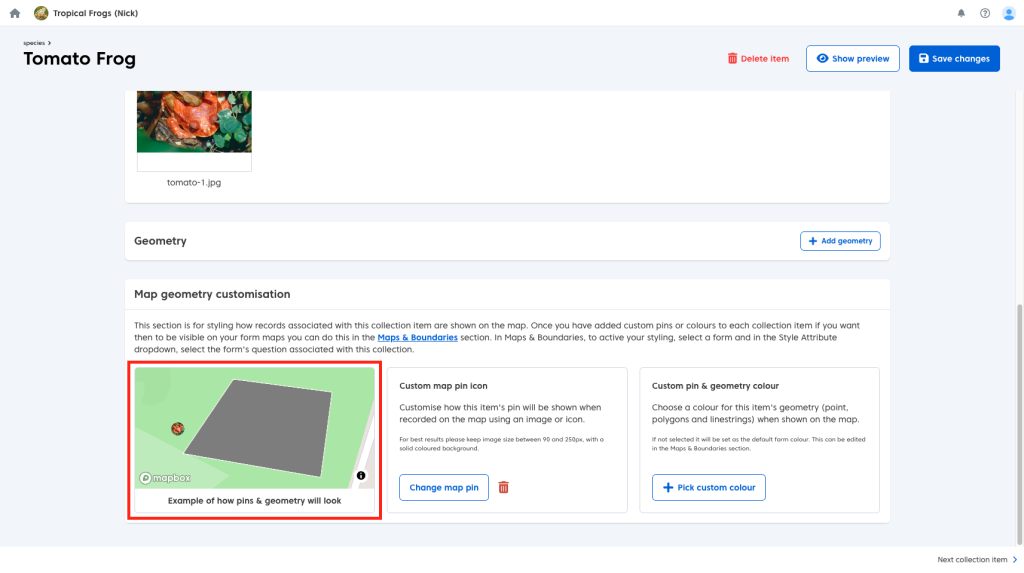
Your new icon will now be visible in the preview window.
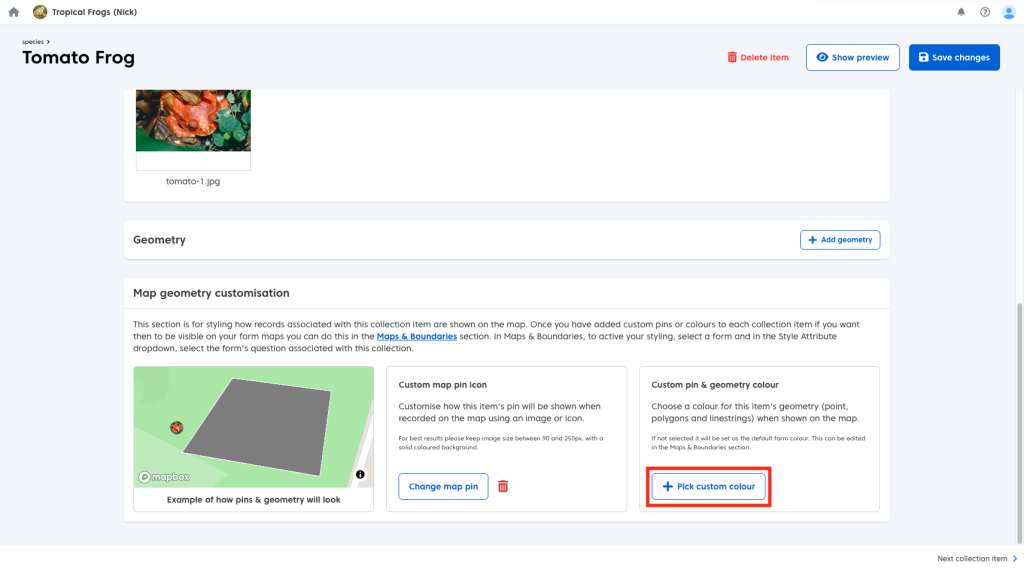
You can also give any polygons or point geometry associated with the chosen collection item a custom colour (thereby differentiating it from the others). To do so:
- Click the ‘Choose custom colour’ button
You will then have the option to:
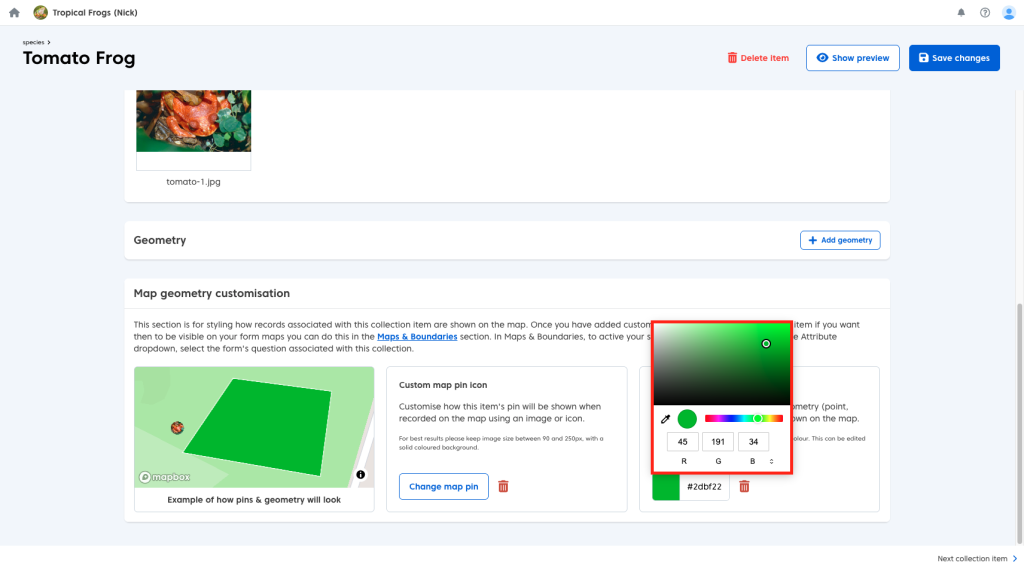
- Paste or type out a hexcode
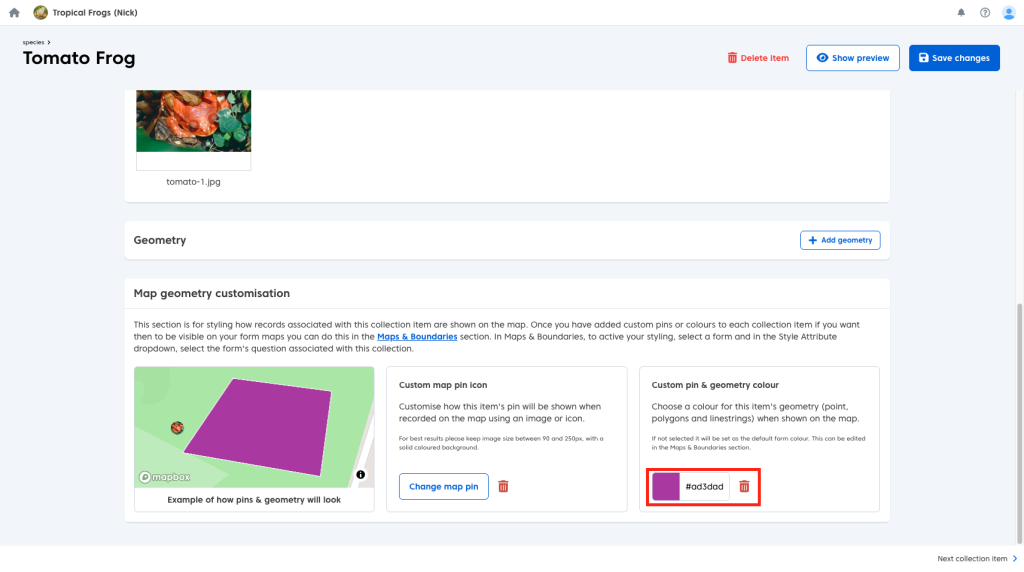
- Click the coloured box to select your colour manually.
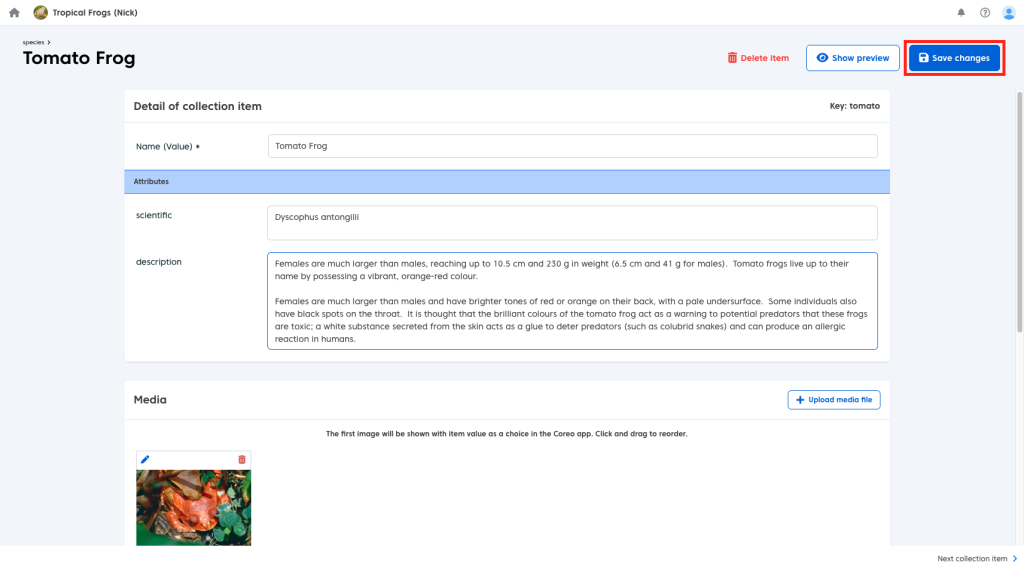
When you are happy with your changes:
- Click the blue ‘Save changes’ button.
Repeat this process for all the items in your collection which you want to have custom styling.
Showing Custom Styles in App
In order for your custom styling to be visible on the map, both in the Coreo Admin Area and the Coreo App, you will need to enable custom styling. To do so:
- Navigate to the ‘Map Builder’.
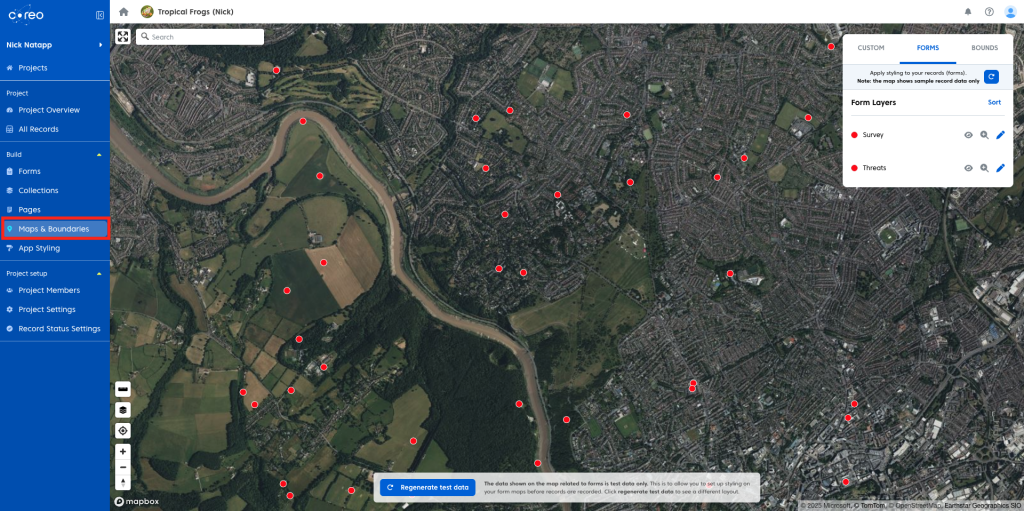
- Open the ‘Forms’ tab.
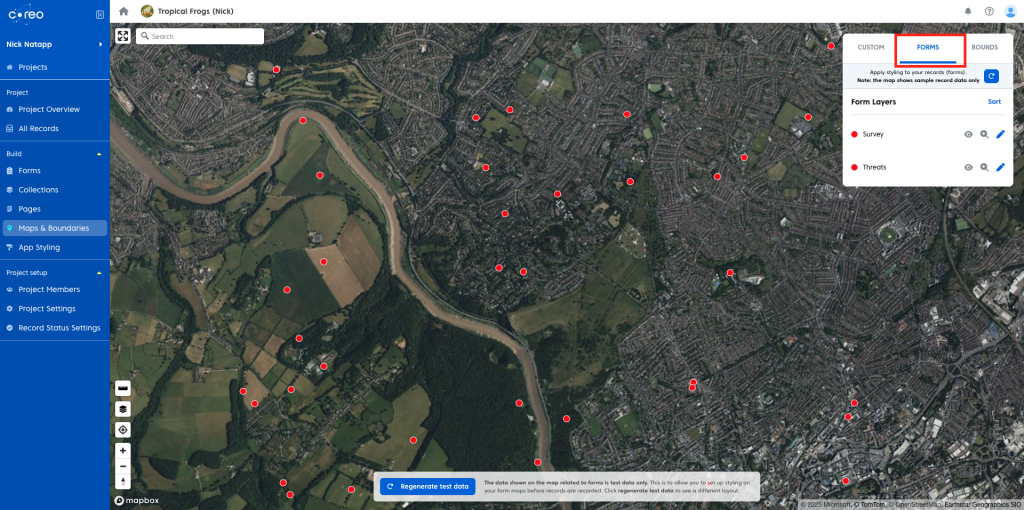
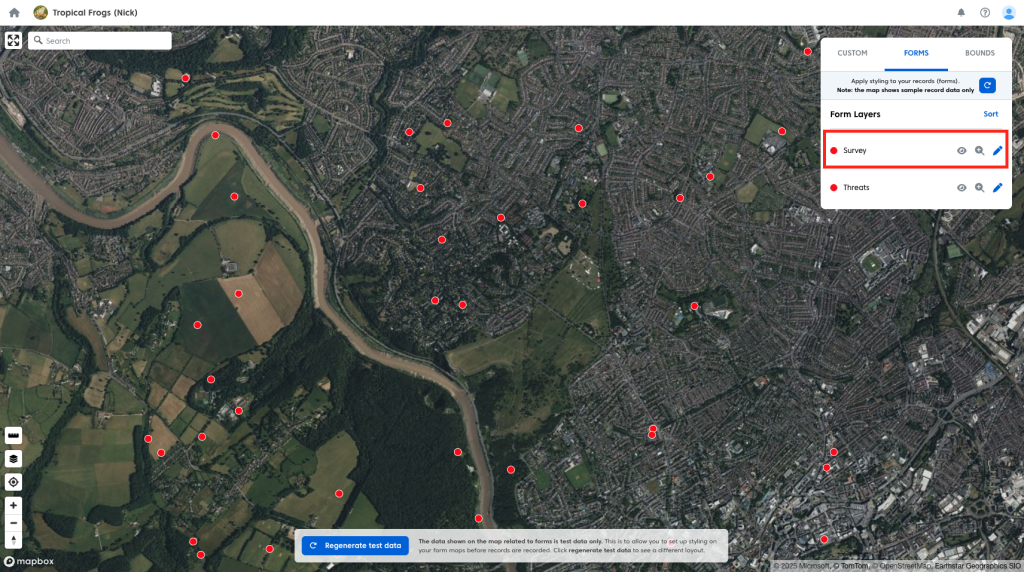
- Select the form layer to which you wish to apply your custom styling
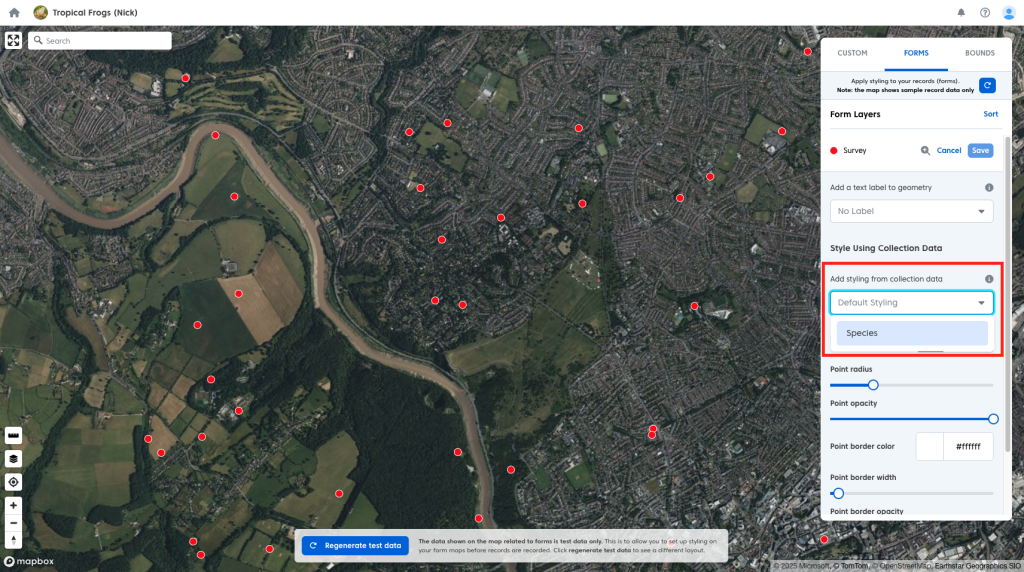
- Under ‘Style Attributes’ select your collection in the dropdown.
- Click the blue ‘Save’ button.
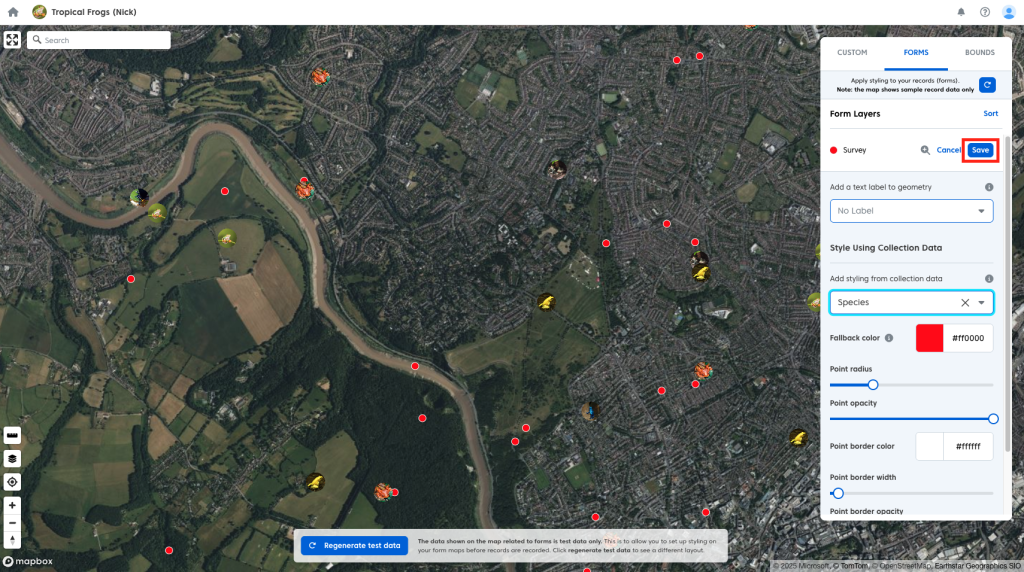
Your records will now display using your custom styles both on the map under ‘Records’ in the Admin Area.
And within the Coreo App on your project map.