Post-Intervention: An Overview
Coreo’s post-intervention tool enables you to easily and effectively create multiple scenario plans from the baseline data you’ve collected in the field. Once plans are finalised this data can be exported directly into the metric calculation tool with minimal effort. This article will cover the entire post intervention process from start to finish and is meant as a broad overview of the workflow.
For each element of the process a link to a more detailed walkthrough of the section will be included.
Creating a Plan
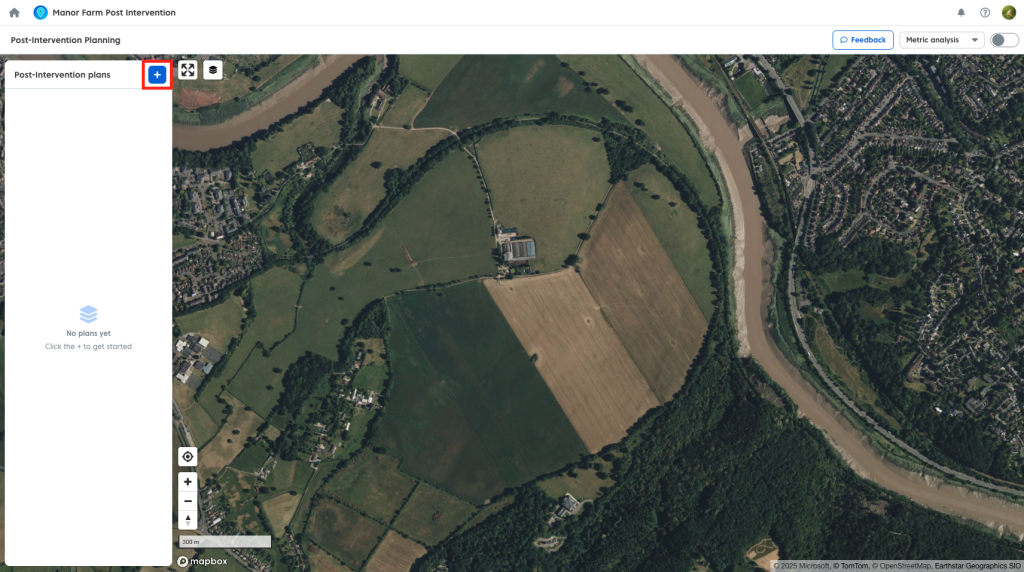
To create a plan access the post-intervention page from the project sidepanel and then:
- Create a plan by clicking the ‘+’ button and entering a name.
- Use the settings cog on an existing plan to Rename, Duplicate (to iterate on designs), or Delete.
When you create a plan, it takes a fixed snapshot of the current baseline in your project. Changes made to the baseline after a plan is created will not update existing plans; only new plans will use the latest baseline version.
Baseline Data Requirements
To create a post-intervention plan, every baseline record must have:
- An associated geometry
- A habitat/metric type
- Strategic significance
- A condition assessment score
Note: If you see an “Incomplete Baseline” message, return to your baseline data to fill in these fields before trying again.
Uploading a Site Plan
You can use a proposed site plan as a visual guide, currently this be a georeferenced GeoTIFF. A native georeferencer is planned in future updates. To upload a site plan GeoTIFF:
- Open the Site image dropdown and select ‘Import proposed site image’ to upload a GeoTIFF.
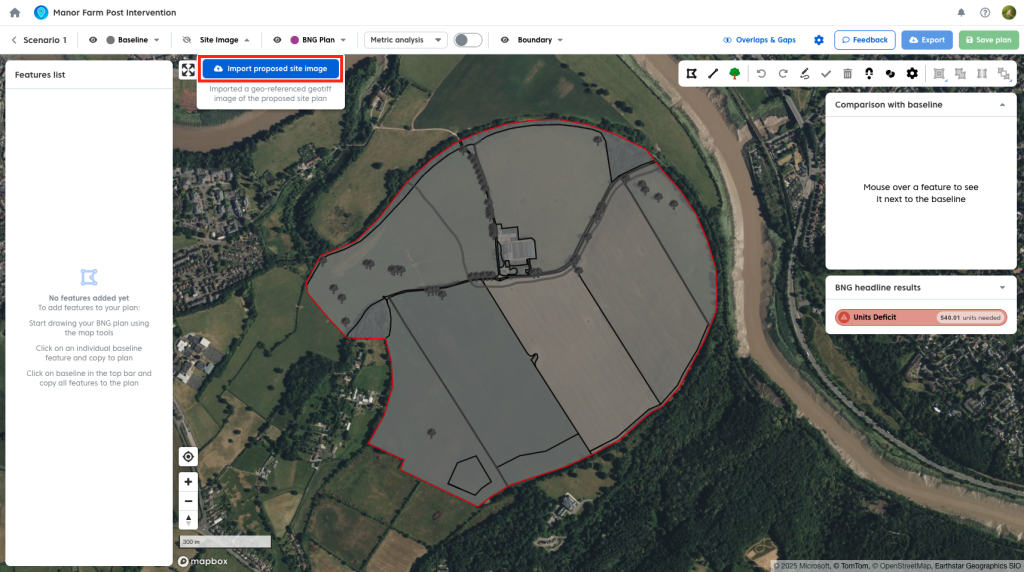
You can adjust opacity to see the baseline beneath or toggle the image on/off as needed.
Note: You must hide the image to select features from the map layer below it.
Adding Geometry to a Plan
There are three ways to populate your plan with geometries:
- Drawing: Use the Polygon, Linestring, or Tree tools. Use “snapping” or “overlap avoidance” for better accuracy.

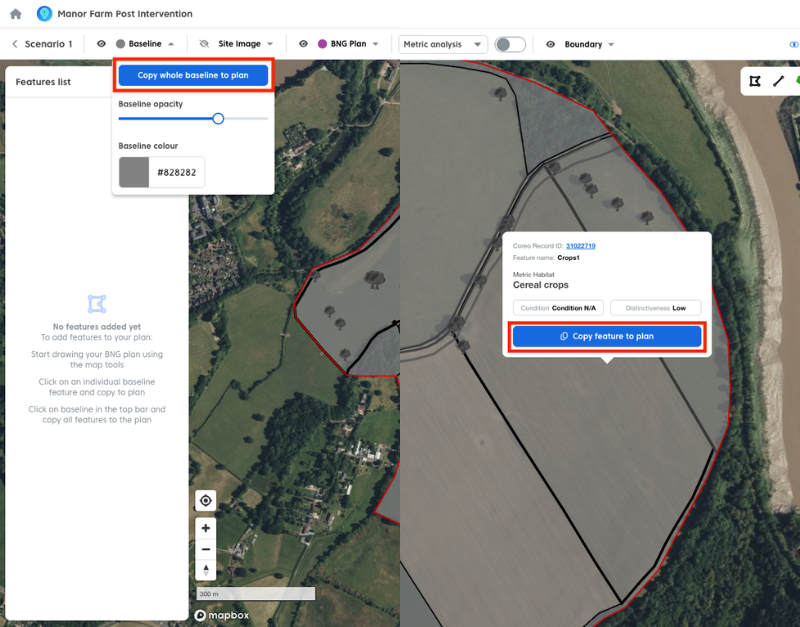
- Copying Baseline Features: Use the Baseline dropdown to copy the entire baseline at once, or select and copy individual features.
- Importing: Use the BNG plan dropdown to import geometry from a .zip shapefile.
Importing a Plan from Shapefiles
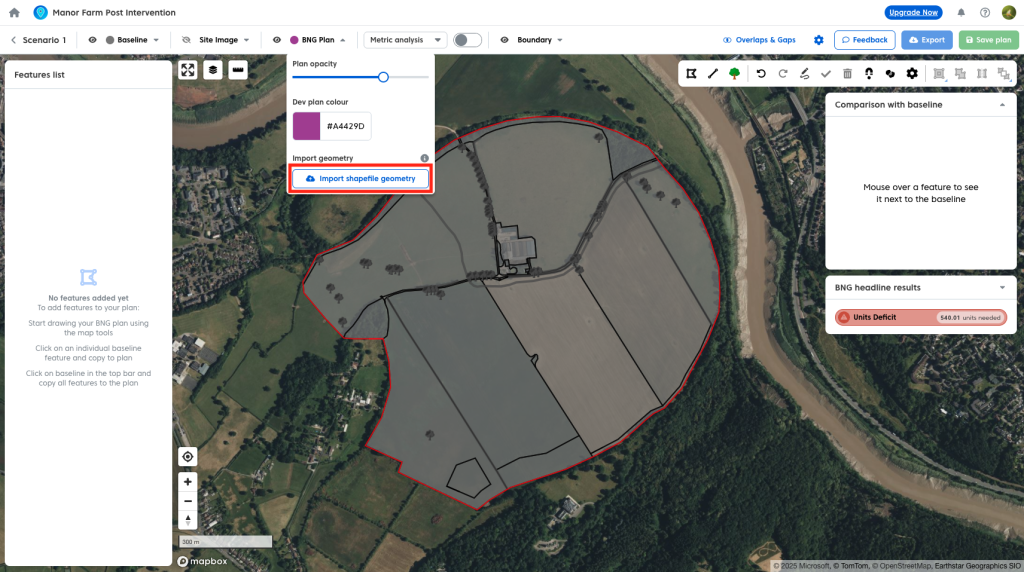
- If you have pre-designed layouts, use Add geometry to bring shapefiles directly into your plan to save time.
Assigning Feature Information
Define the details of your proposed habitats:
- Click a feature on the map or in the list.
- Use the Habitat menu to search for and select habitats.
- Set condition and strategic significance
- If habitat is uplifted or created, set advance/delay creation
- To bulk edit use Ctrl/Cmd + click to select multiple features and update their attributes simultaneously.

Baseline to Plan Comparison & Live Metric Unit Calculations
BNG units are calculated behind the scenes as you make changes to your plan. These are displayed in the comparison window:
- The tool compares your plan to the baseline to classify features as Retained, Enhanced, Created, or Lost.
- Hover over any feature to see its status, size, and if it is contributing to a trading rule break.
- Results update instantly whenever you change a habitat, condition, or area.
- Headline results show whether the plan achieves BNG.

Trading Rules
Compliance with trading rules is monitored and rule breaking features highlighted. A detailed breakdown of the trading rules is available.
Setting Target Net Gain
- Open Plan Settings (cog icon) and enter your required net gain percentage to track progress against your goal.
Off-site Units
- In Plan Settings, toggle on ‘Off-site units’ to change the entirety of your plan to offsite.
- This applies off-site multipliers to calculations and ensures data is exported to the correct sections of the statutory metric.

Feature List
- Access the feature list by deselecting all geometry. Features are grouped by type (Trees, Linear, Habitats).
- Use Quick Filters for geometry types or the Sort/Filter panel to organize by condition, distinctiveness, or intervention type.

Watercourses
Because watercourse assessments are handled differently:
- Create a plan, select your watercourses on the baseline layer, and manually enter your external assessment data.
- To save time, once watercourse data is entered, save the plan as a Template. Duplicate this template for future scenarios to avoid re-entering watercourse data.

Post Intervention: Map Styling
Visualise your data by selecting a style from the toolbar dropdown and toggling it ‘on’:
- Metric Analysis: Shows status (retained/created etc.) and highlights trading rule breaches with cross-hatching.
- Distinctiveness/Condition: Colour-codes the map based on distinctiveness level or condition score/target condition
- Symbology: Applies standard UKHab-style mapping.

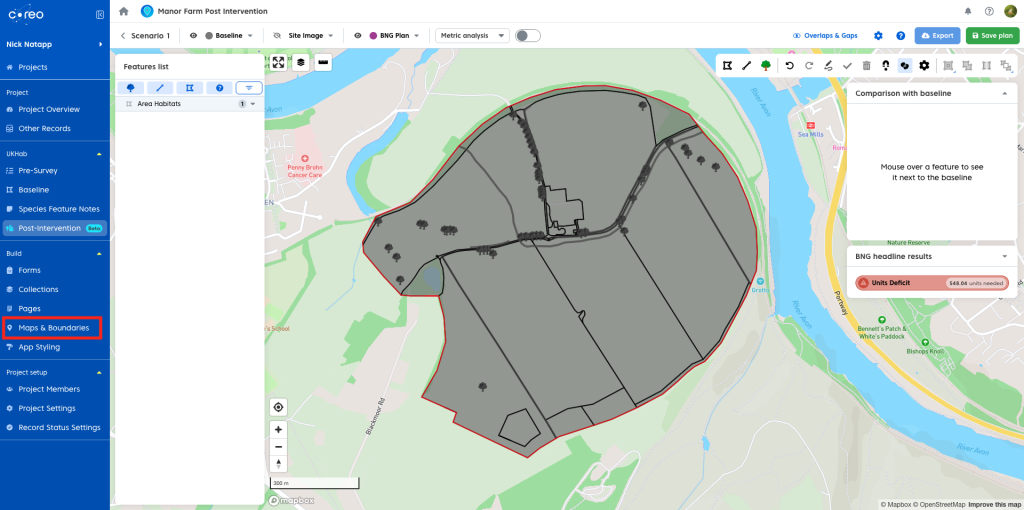
Editing the Red Line Boundary
- Edit your boundary using the project ‘Maps & Boundaries’ page.
- Existing projects are unaffected by changes to your red line boundary.
- New and duplicated projects are clipped to the new boundary (this includes the underlying baseline layer and features that make up the actual post-intervention plan)
Exporting
When your design is complete, use the Export button:
- BNG Metric: Export to a Macro-enabled or Non-macro version of the metric calculation tool.
- Geometry: Download your shapes as a Shapefile, GeoJSON, or Geopackage.
- Map Export: Create a presentation-ready map with a legend using your chosen styling.

Geometry Tips and Tricks
Use these advanced tools to refine complex shapes and save time during the design phase:
- Cutout & Keep: Select a large feature and use this tool to “carve out” a new shape from within it. You can use manual vertices or the freehand tool to define the new area.

- Split Tool:
- Polygons: Use this to slice a section off the edge of an existing shape.
- Linear Features: Select a line and drop a vertex to break it into two separate segments.

- Overlap Avoidance: Toggle this ON to fill empty spaces quickly. When you draw over a gap, the tool automatically clips the new shape to fit the empty space. Combine this with Snapping to align edges with neighbouring features.

- Clip All: If you draw a new feature that overlaps existing ones (common after copying a full baseline), select the underlying features and click Clip all. This removes sections of overlap aligning the new feature with surrounding polygons.
