Post-Intervention: Adding Geometry to a Plan
There are several ways to create or add geometry to your post-intervention plan.
Drawing New Geometry
You can draw new features directly onto the map using the built-in drawing tools.
To draw geometry:
Select the geometry type you wish to add from the geometry toolbar:
- Polygon

- Linestring

- Tree (point)

Choose either:
- Point-and-click mode (this will be selected by default)
- Freehand mode

To complete a feature in:
- Point-and-click mode:
- Double click on the final point you wish to place.
- If drawing a polygon double click on the first point you placed (closing the shape).
- Right click.
Or:
- Freehand Mode:
- Release the mouse to close a polygon or finish a line.
To improve accuracy:
- Enable snapping to align features.

- Enable overlap avoidance to prevent overlapping geometry

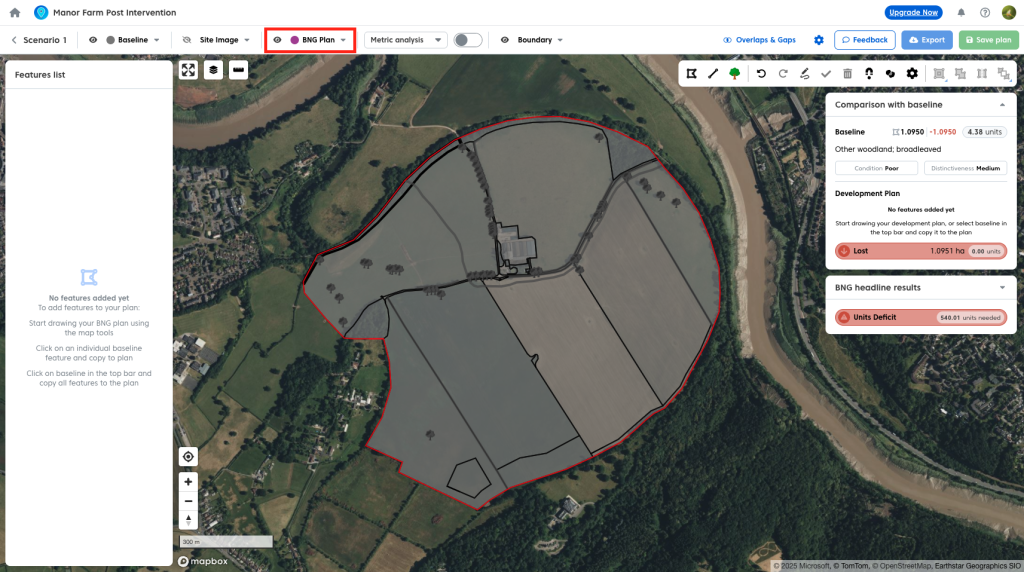
Copying the Entire Baseline into a Plan
You can copy all baseline features into your plan in one go and then edit them to reflect your post-intervention design.
To copy the baseline:
- Open the Baseline line dropdown in the plan tool bar.
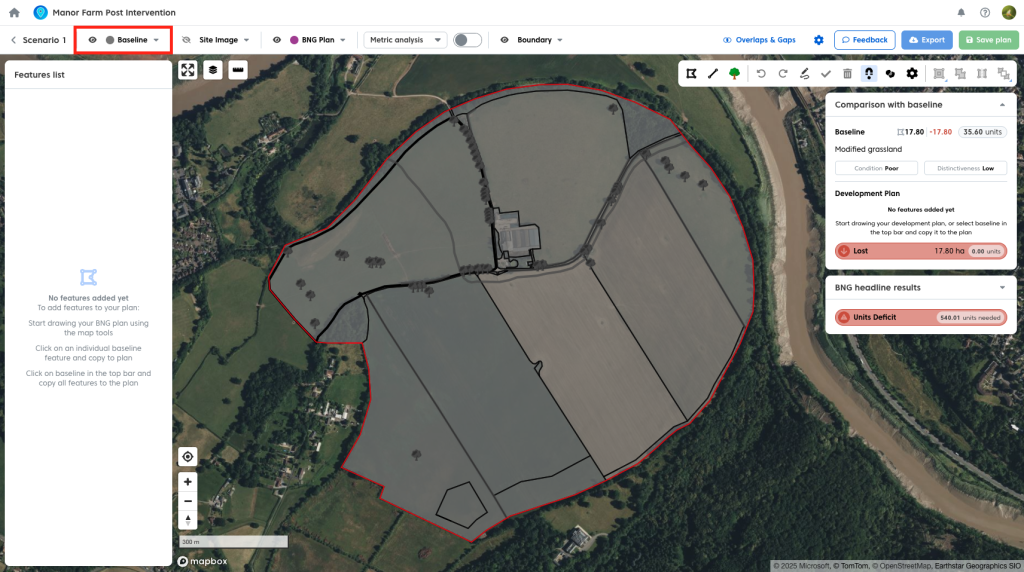
- Select the option to copy the baseline into your plan.
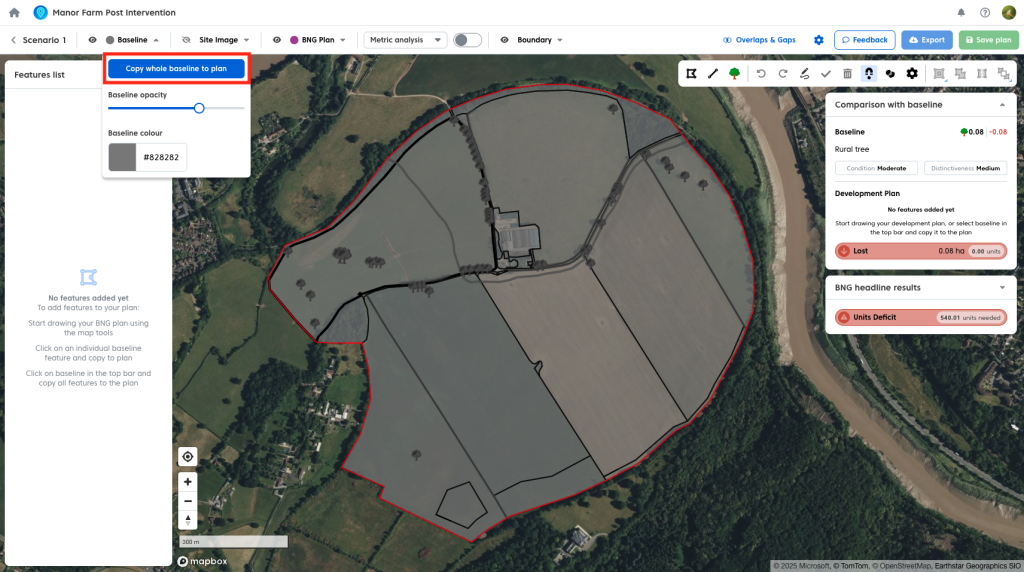
This will copy both the geometry and associated feature data into your plan. Once copied, you can use the advanced map tools like split and cut out and keep to modify features as needed.
Note: If your plan already contains geometry, you may see a warning about overlapping features.
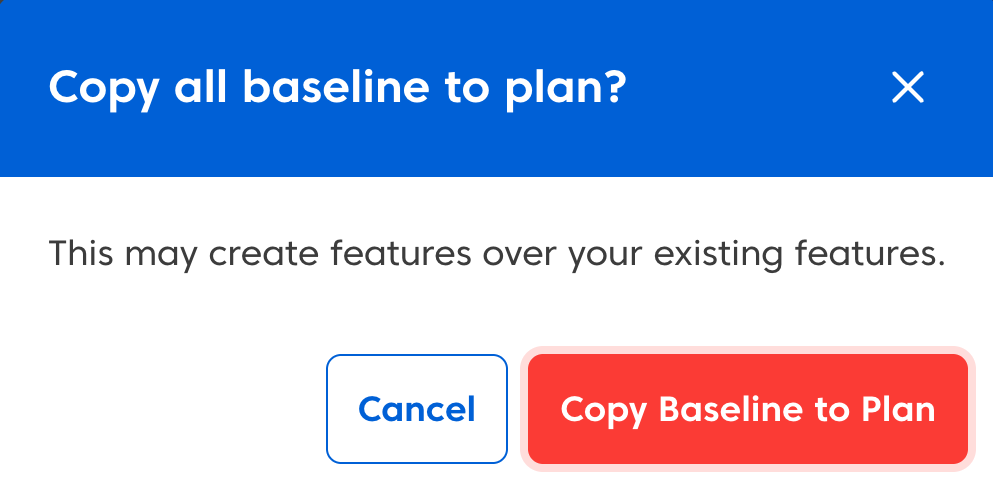
To resolve this:
- Delete existing plan geometry before copying the baseline.
Or:
- Use the ‘Clip all’ tool to remove overlaps after copying. Fo more details see our user guide here.

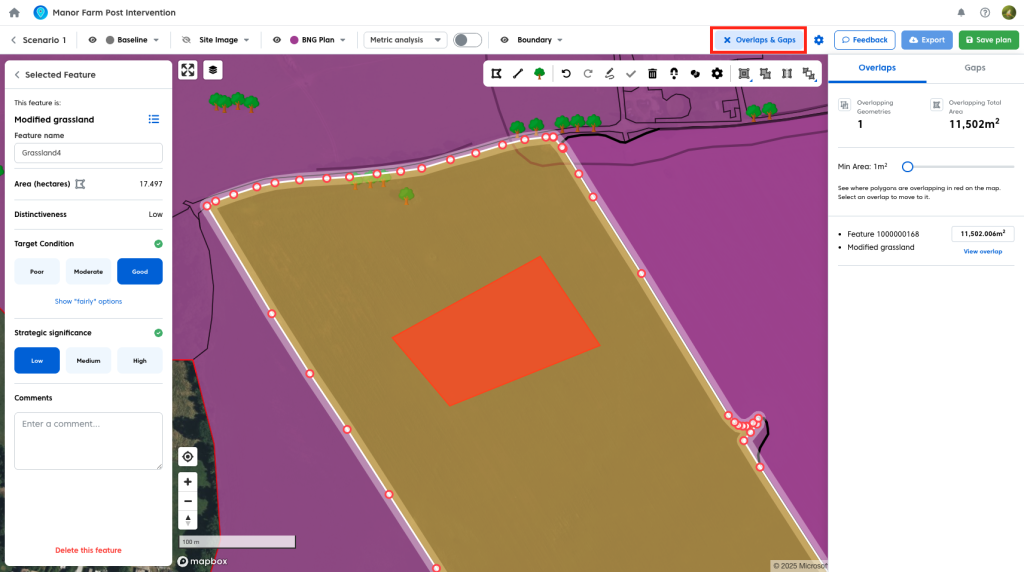
- You can see overlaps by opening the “Overlaps & gaps” panel”
Copying Individual Baseline Features
You can copy baseline features into your plan individually.
To copy a single feature:
- Select a baseline feature on the map.
- Click ‘Copy feature to plan’.

This will copy both the geometry and associated feature data into your plan.
Watercourse Warning
If your baseline includes watercourses, a warning may appear when copying features into your plan.

For more information on how watercourses are handled, refer to the watercourses documentation.
Importing Geometry from Shapefiles
You can import existing geometry into your plan using shapefiles.
To import shapefiles:
- Click the BNG plan dropdown in the plan tool bar.
- Select ‘Import shapefile geometry’.
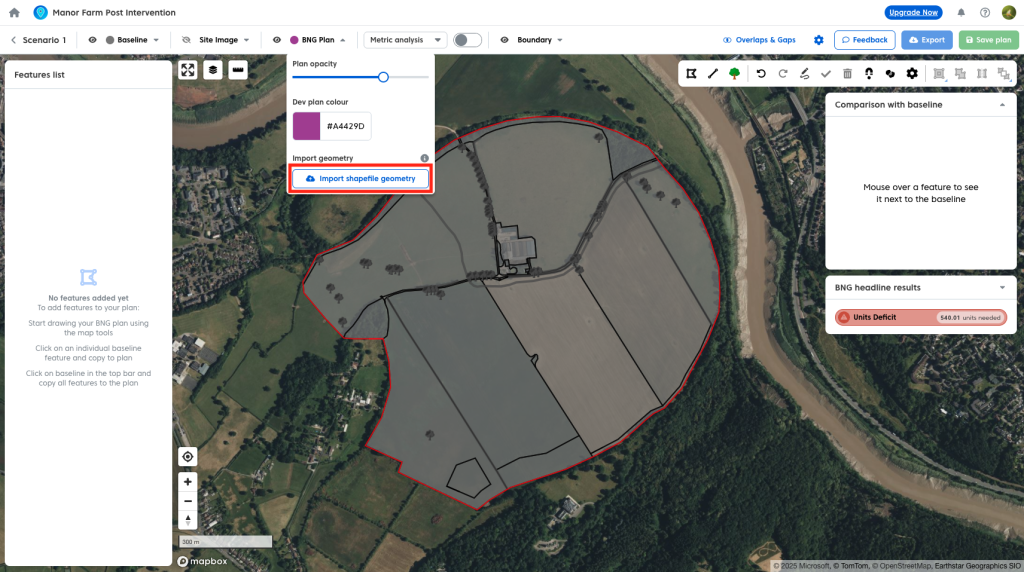
- Upload your file.
Requirements
- Shapefiles must be uploaded as a .zip file containing all required components
Note:
- Only geometry is imported. Any additional attributes from external tools are not included.
- The Post intervention tool does not currently support CAD files. To import a CAD file please convert to a georeferenced shapefile first.