Post-Intervention: The Feature List
The feature list allows you to view and manage all features in your plan.
To view the full feature list:
- Deselect any geometry on the map by clicking on the baseline or any area without post-intervention geometry.
Or:
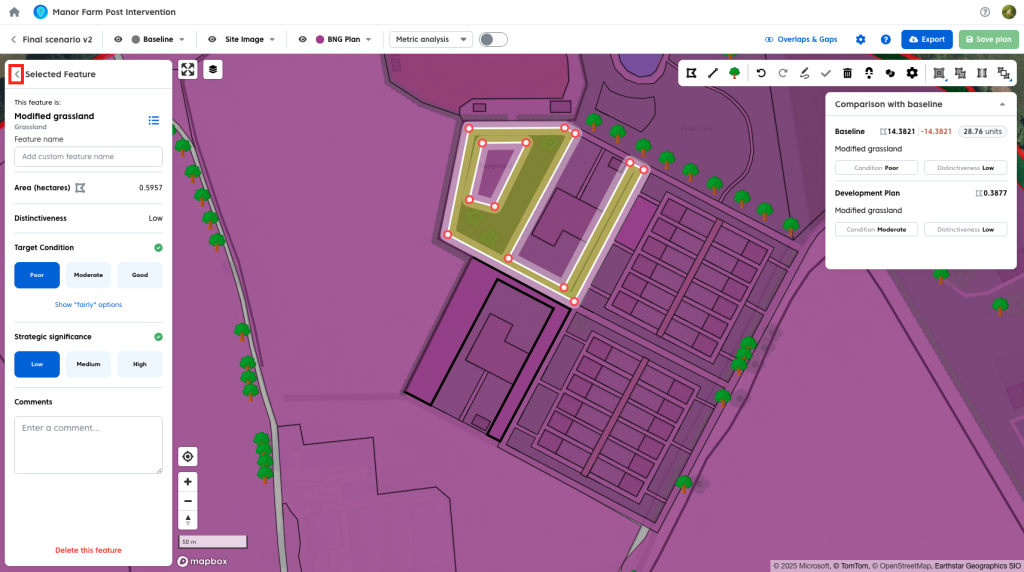
- Click the back button on the selected feature panel, when a feature is selected.
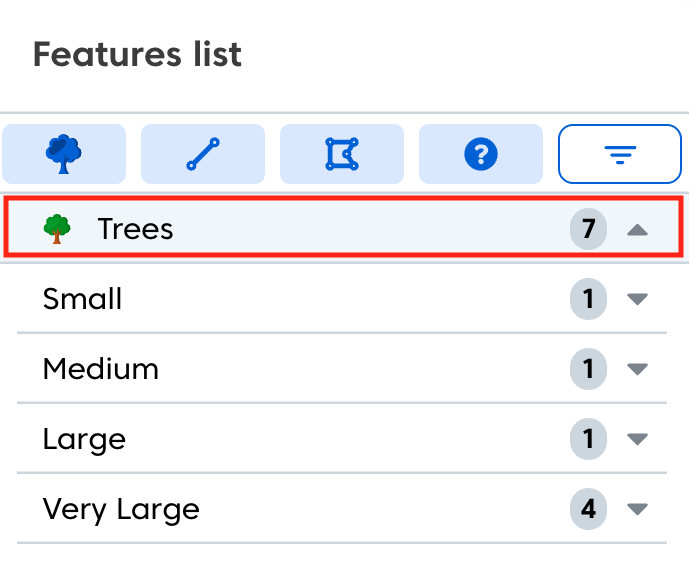
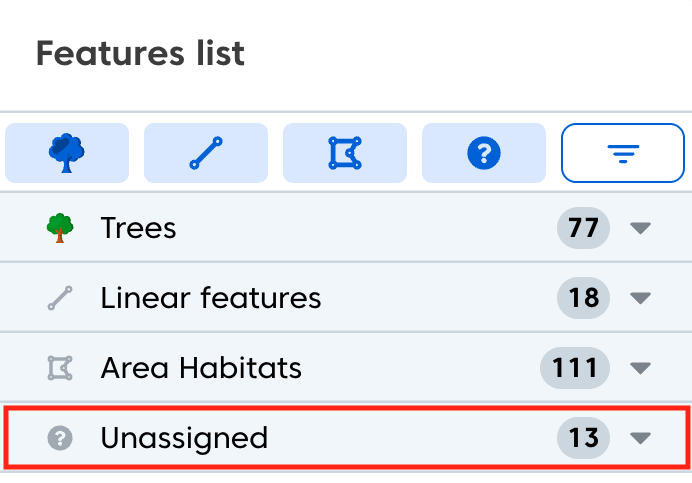
The feature list displays all features in your plan, organised by geometry type.
- Trees are grouped by size.
- Linear features include hedges and watercourses.

- Habitats include all area-based habitats.
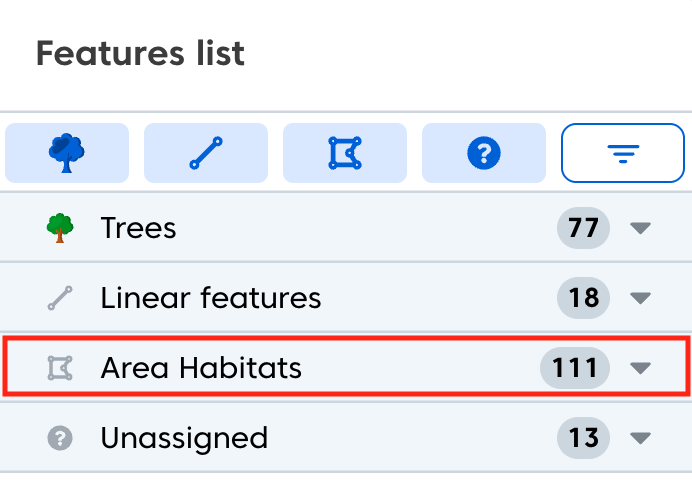
- Unassigned includes any features that do not yet have a habitat assigned to them.
Once a habitat is assigned, the feature will move from Unassigned into the appropriate geometry type.
Filtering by Geometry Type
You can focus on a single geometry type using the quick filters.
To filter by geometry:
- Use the quick filters at the top of the map to select the geometry type you want to display.

- This will hide all other geometry types on the map.

This can make it easier to work with specific feature types, such as hedges, watercourses and trees.
Applying Filters and Sorting
You can further refine the feature list by opening the main sort and filters panel at the top of the feature list.

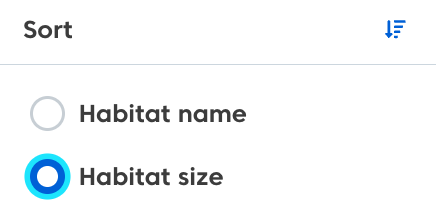
Sorting
The feature list can be sorted by:
- Habitat name
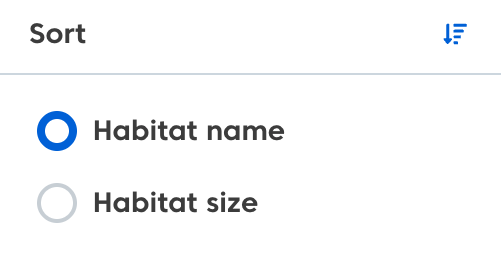
- Area (for polygons)
- Length (for lines)
Filtering
The feature list can filtered by:
- Feature condition
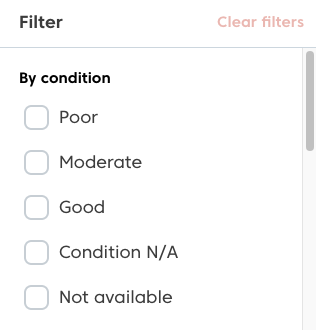
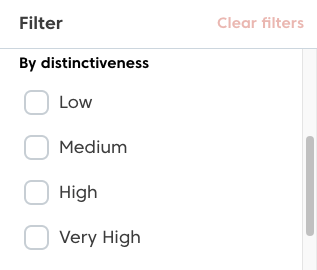
- Feature distinctiveness
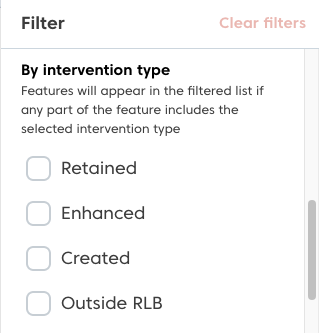
- Intervention type (retained, enhanced or created).
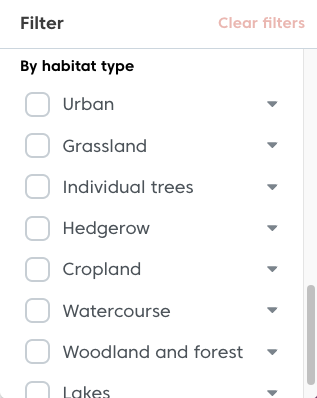
- Broad habitat type
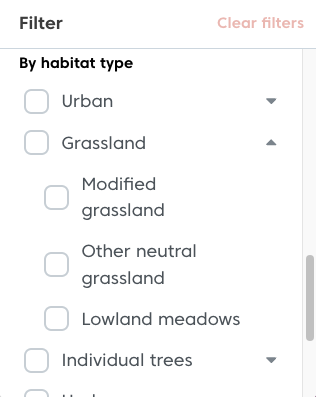
- Exact habitat type
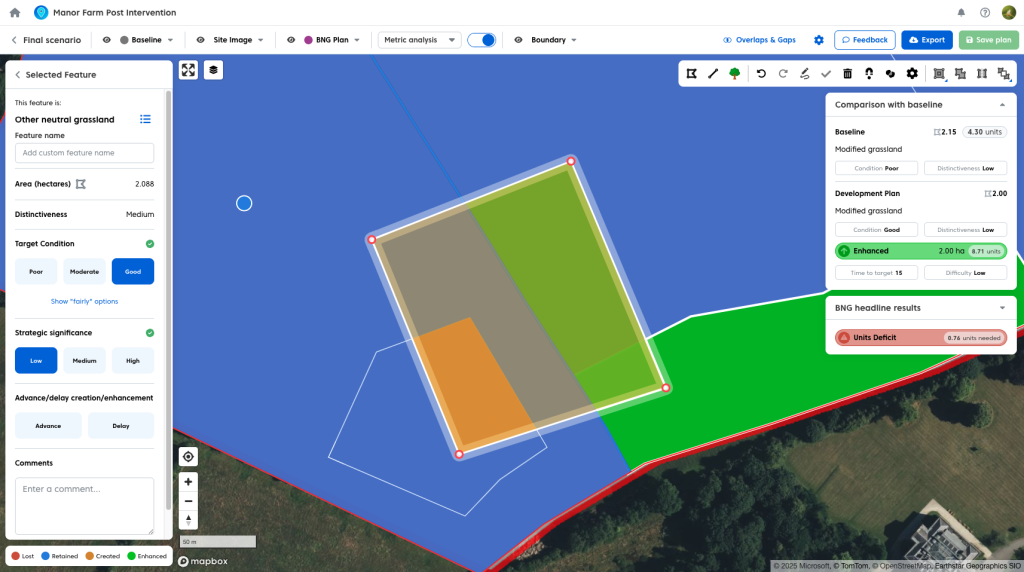
Note – As a single feature may contain a mix of retained areas, enhanced areas and or created areas when filtering by intervention type, a feature will appear in the list and on the map if any part of it matches the selected filter type.
Example – this feature runs over 4 baselines. With the automatic comparison between plan and baseline we can see that different areas of the feature are retained, enhanced and created. Therefore this feature will be shown if any of these filters are turned on.