Creating and managing Coreo Groups
If you have a large team organising who is working on what project is key. Coreo allows you to set up pre-existing groups and set their default permissions. This means you can quickly assign larger groups of users to projects rather than selecting them individually per project.
Creating Groups
Groups can be created by the Owner of an organisation as well as users with the ‘Admin’ role. A group can contain both organisation users and contributors. To create your groups first:
- From the Home page of your account, select your Organisation in the side-panel.

- Next, choose the ‘Organisation Members’ button.

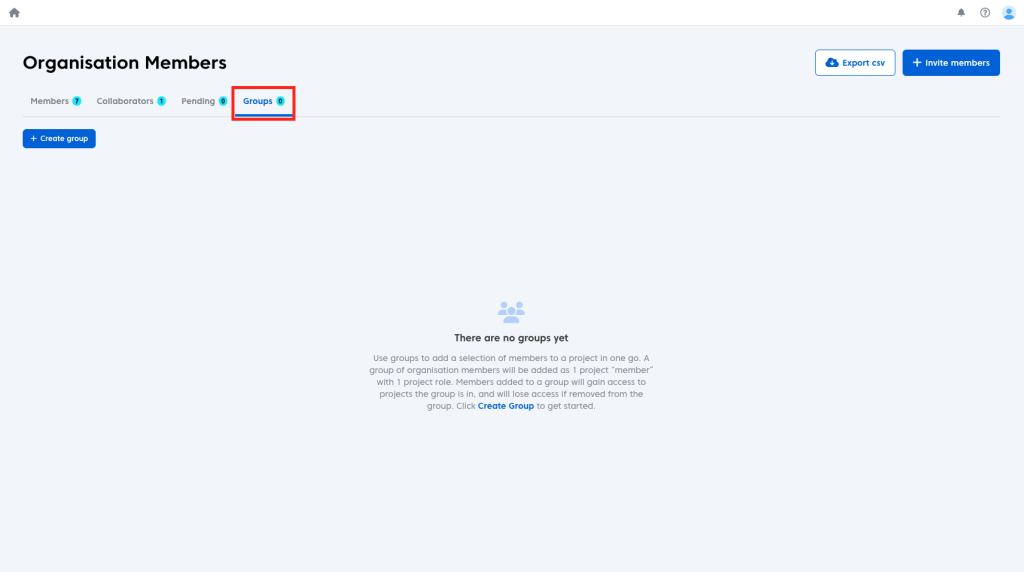
- Then click the ‘Groups’ tab on the ‘Organisation Members’ page.
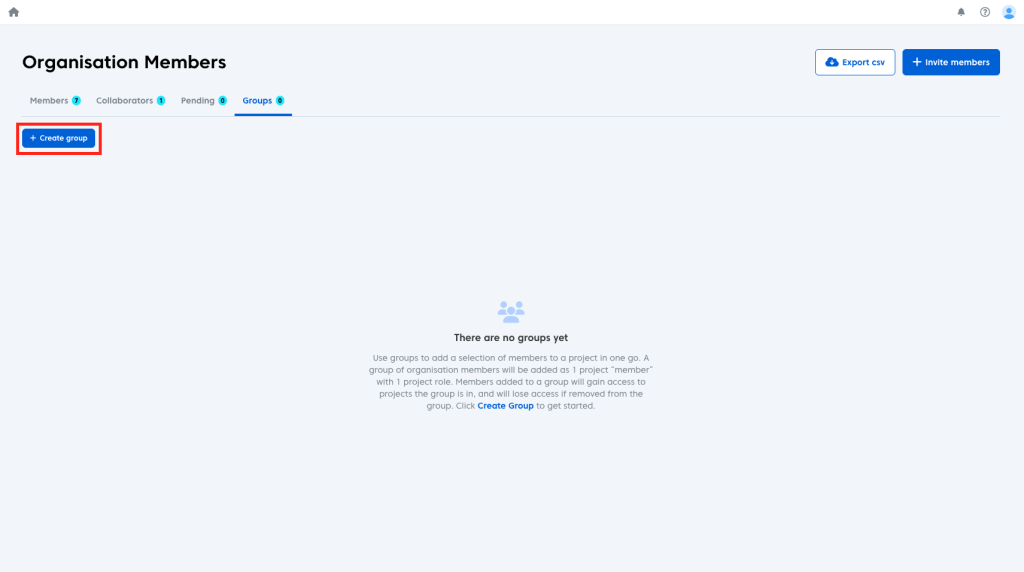
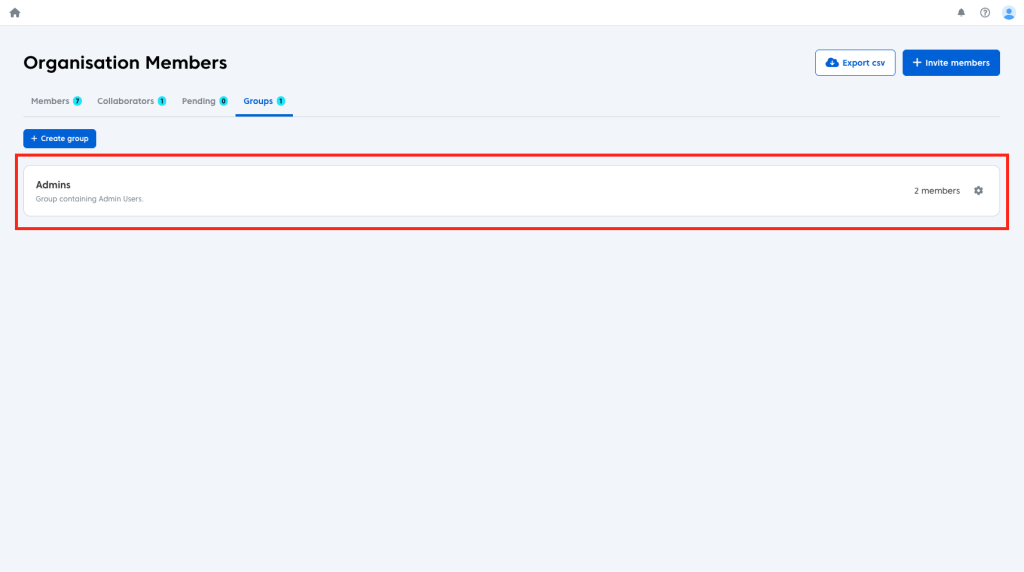
- To create your first group click the blue ‘Create group’ button.
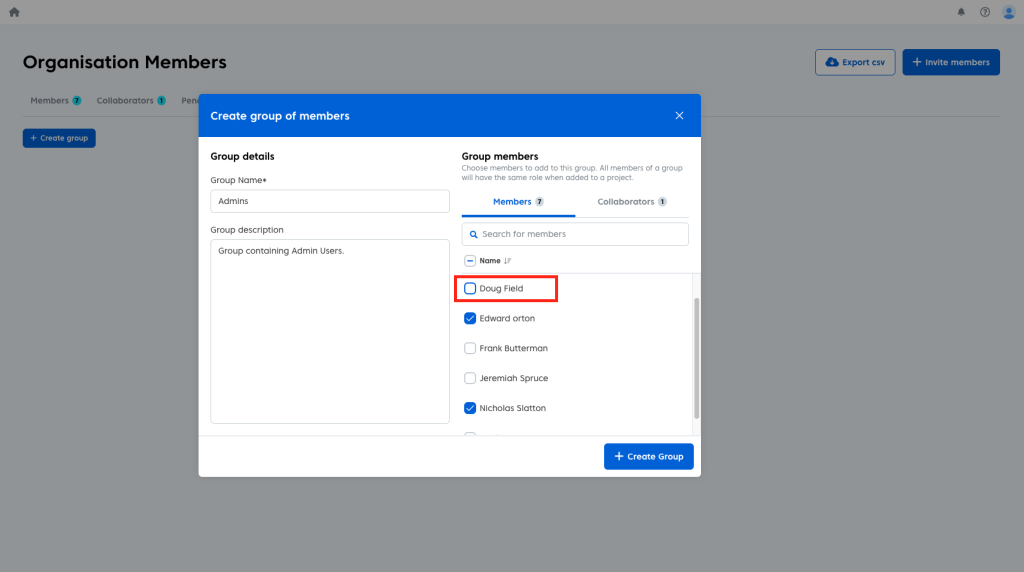
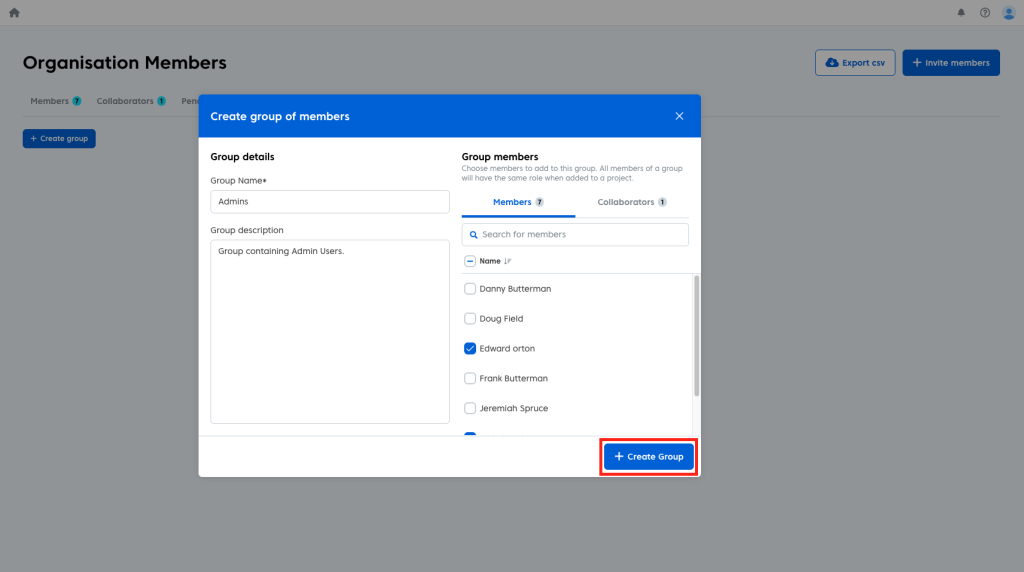
Within the group modal you will have the option to give your group a name, description and to add members or collaborators to the group. To add a user simply:
- Click the checkbox next to the name of the user you wish to add.
To add collaborators:
- Click the ‘Collaborators’ tab.
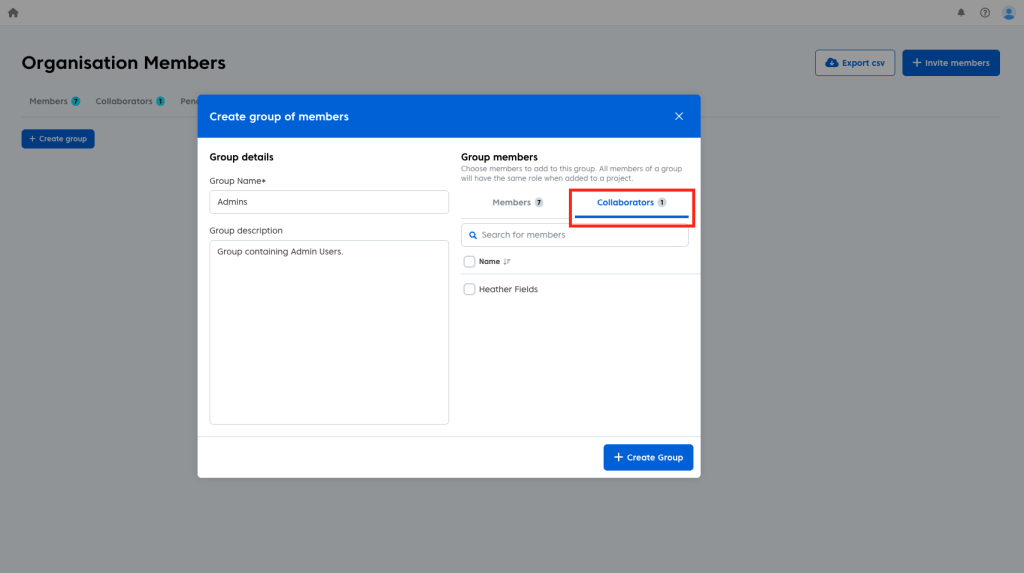
- Click the checkbox as you did with organisation members.

- Click the blue ‘Create Group’ button when finished.
Assigning Groups to projects
Once you have created your group(s), you can begin assigning them to projects. there are two ways that this can be done. Either via the group or within a project.
To assign via the group:
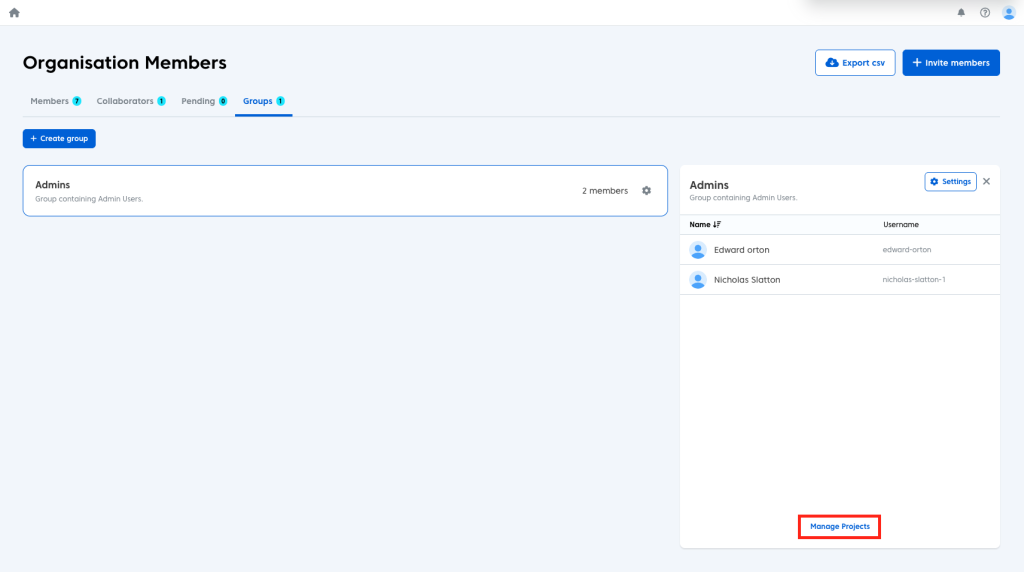
- Click the group you wish to assign to projects.
- Click ‘Manage Projects’ in the newly opened window.
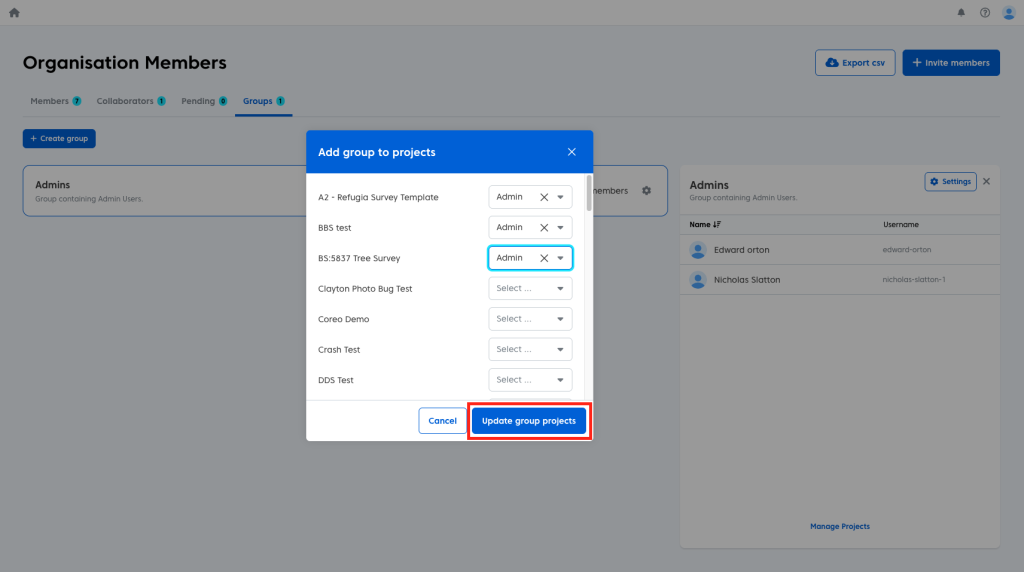
You will be presented with a list of all the projects in your organisation. To assign the group to these:
- Click the dropdown menu next to the project you wish to assign the group to.
- Select the project role, you wish the group members to have in the project.
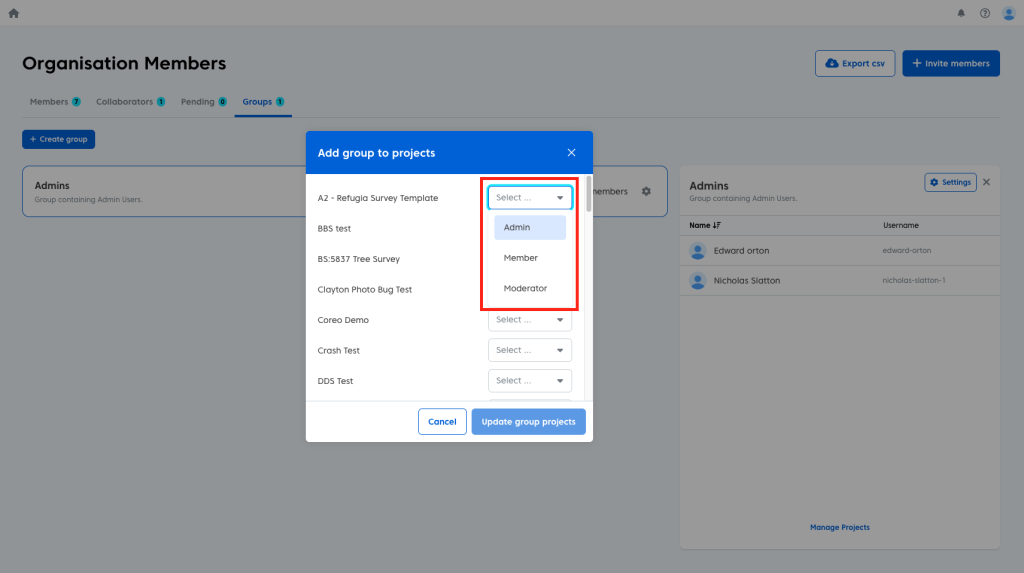
Project roles work for groups just as they do for individual members. For example a group with ‘member’ permissions who are assigned to a project as ‘Admins’ will have full Admin rights to the assigned project.
Once you have selected all the projects you wish to assign the group to:
- Click the blue ‘Update group projects’ button.
You will now see a list of the projects the group is assigned to in the right hand window.
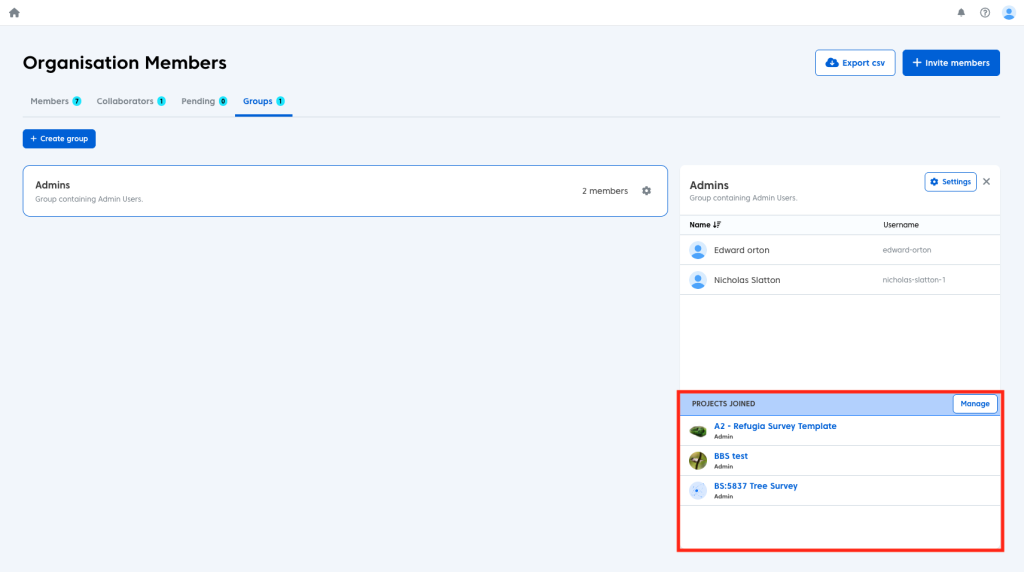
You can remove groups from projects in the ‘Manage’ window. Simply:
- Click the ‘x’ next to an assigned project in the list.

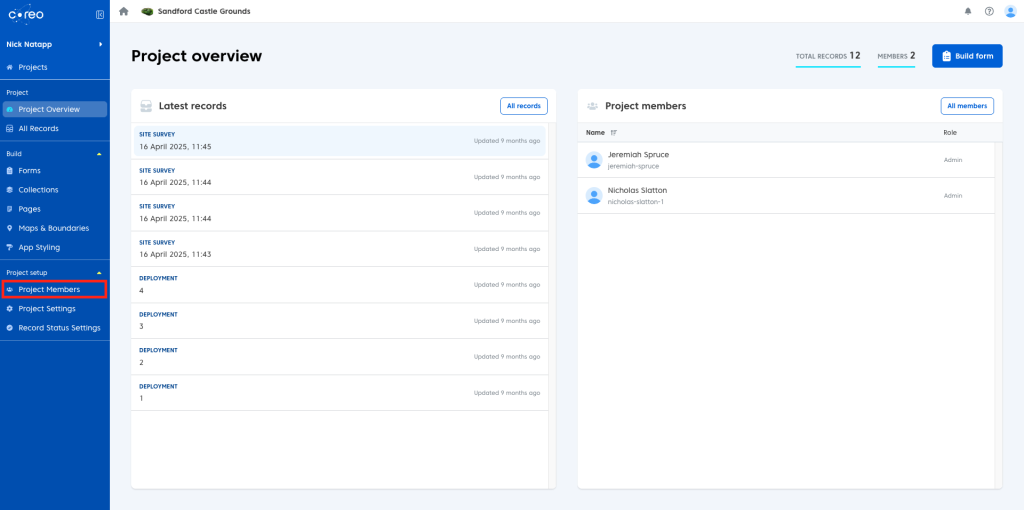
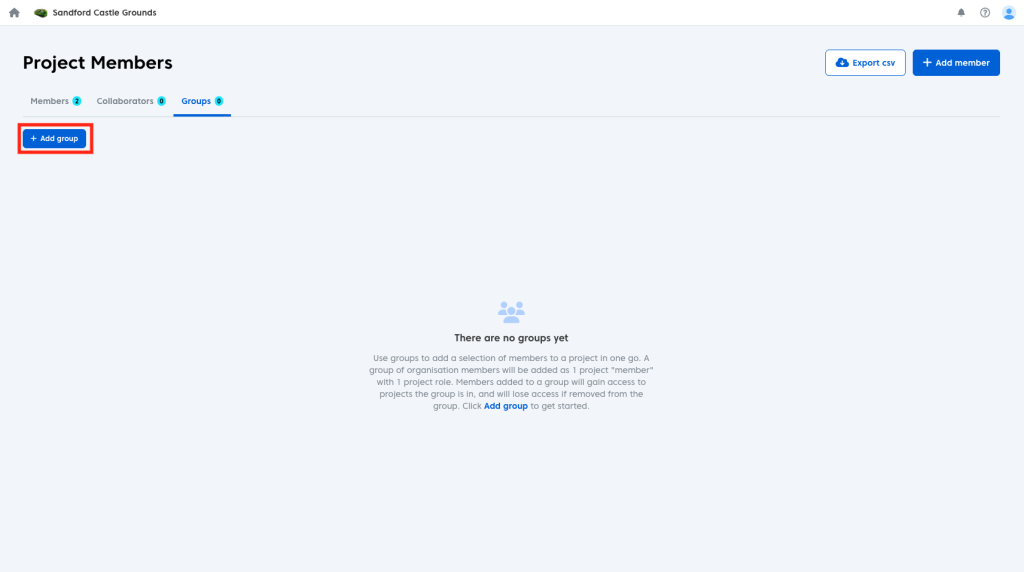
To assign via project:
- Open the ‘Project Members’ page.
- Open the ‘Groups’ tab.
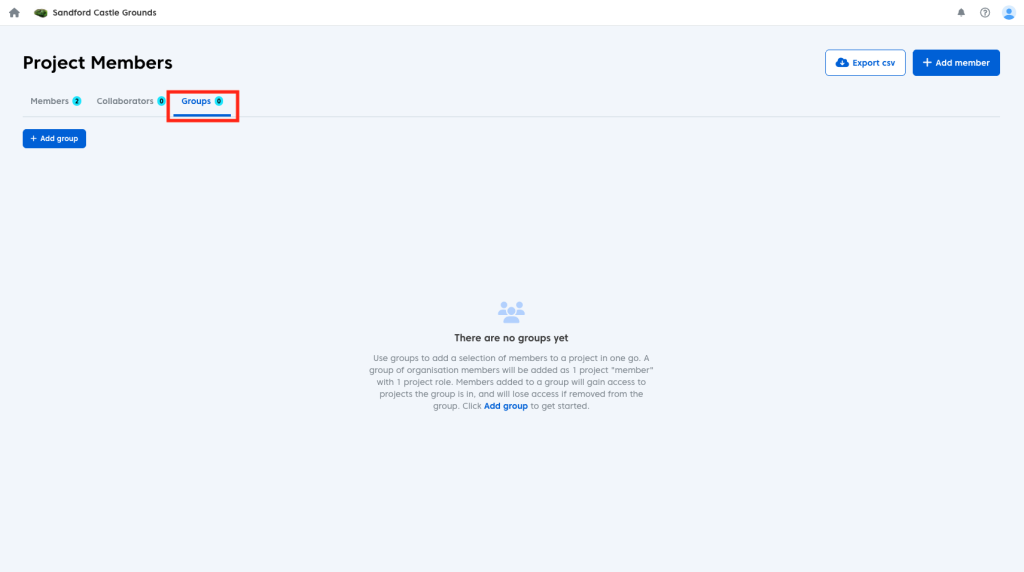
- Click the blue ‘Add group’ button.
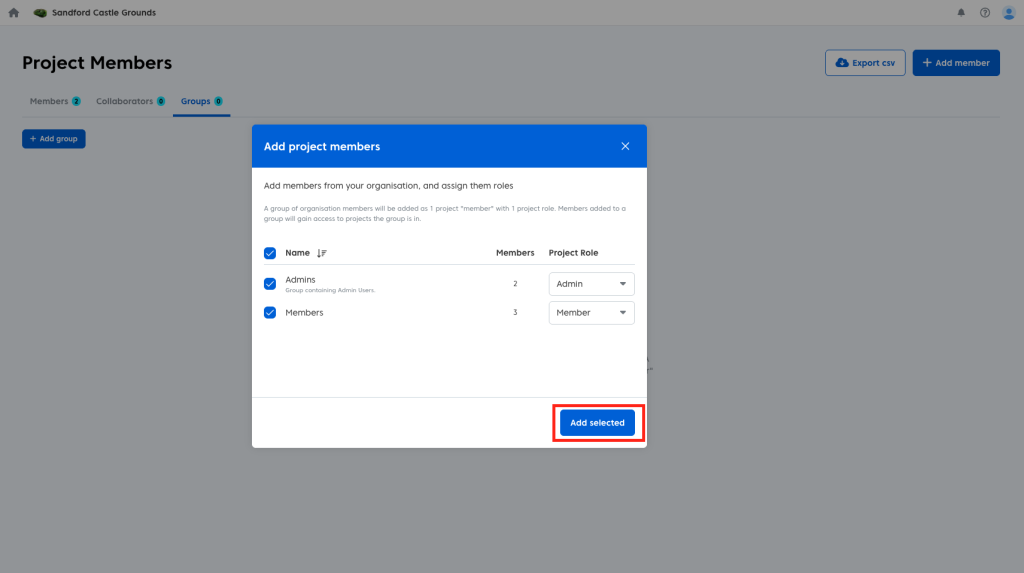
You will now be presented with a list of your organisations groups. You can select and add multiple groups to a project at once. To do so:
- Tick the groups you wish to add.

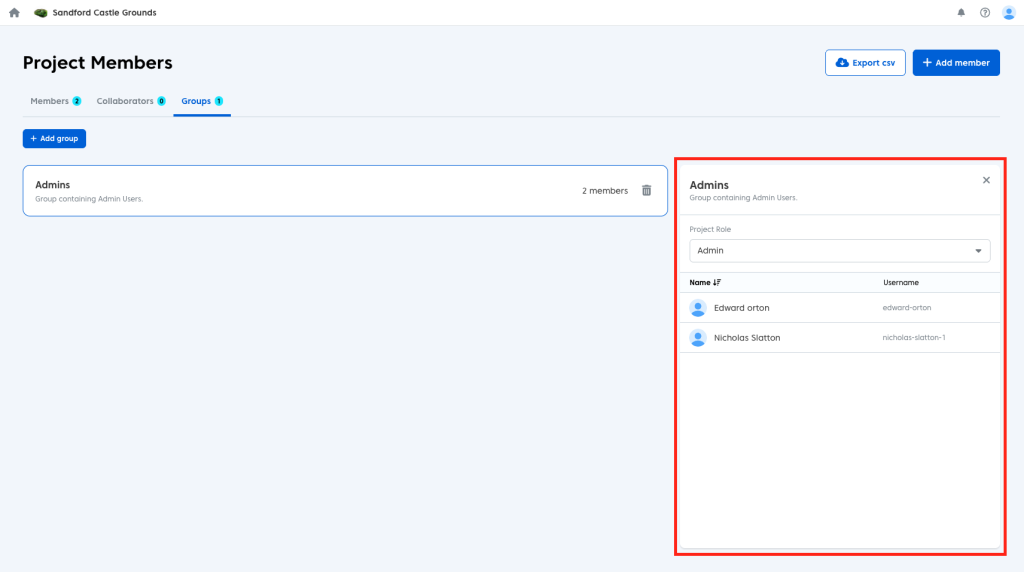
You can also change the permissions of the groups by using the ‘Project Role’ dropdown.

Once you have selected your groups and assigned them their roles:
- Click the blue ‘Add selected’ button.
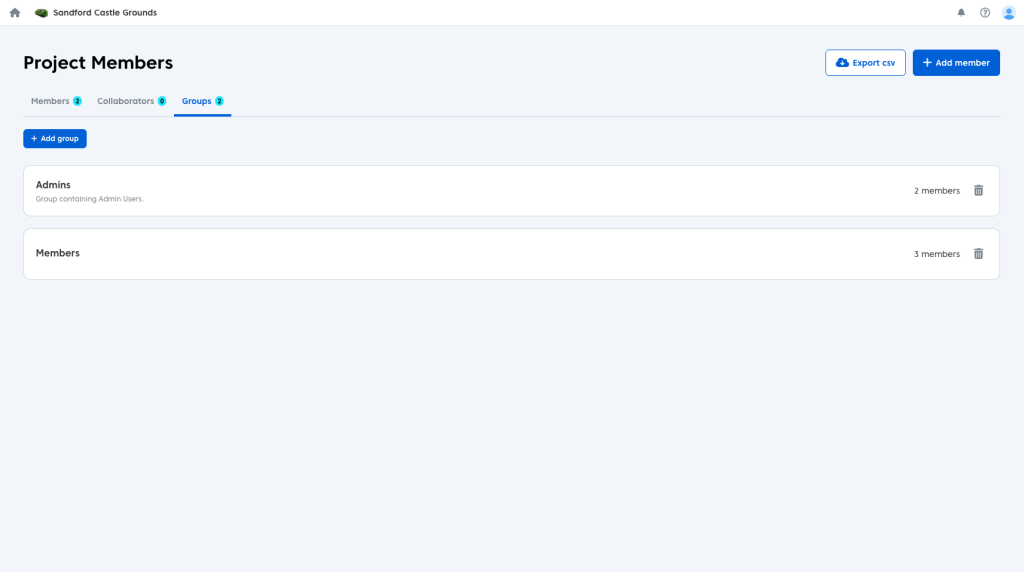
The groups will now be added to the project and all members within will have access to the project depending on the role you assigned the group.
Note: Organisation Admins will always have admin rights regardless of the group project role.
To remove a group from the project:
- Click the ‘bin’ icon next to the group you wish to remove.
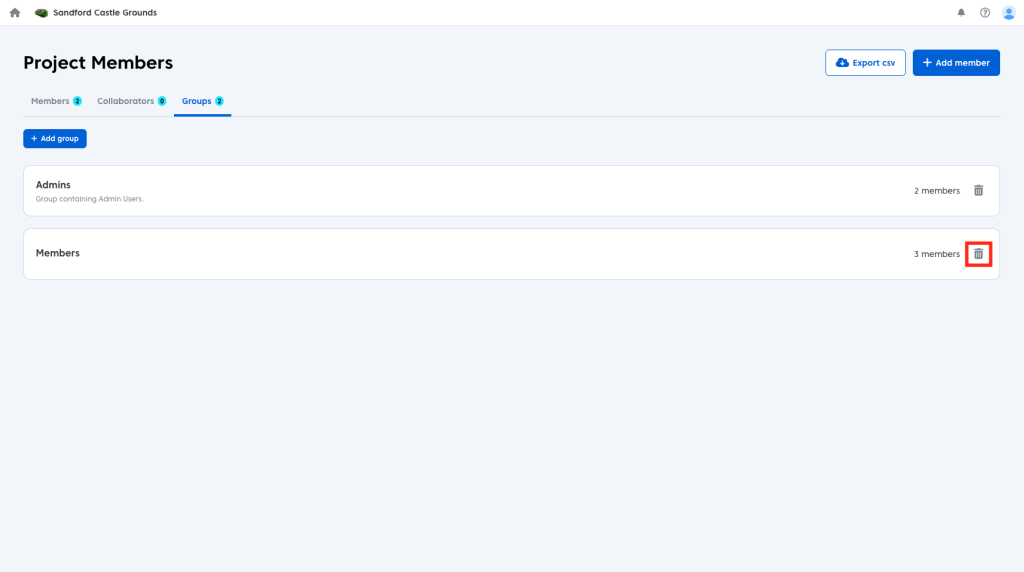
- Click the red ‘Remove Group’ button in the confirmation window.

Group members will not appear in the project member page, to keep track of who is in the group:
- Click on the group to pull up a list of its members.
If you change who is in a group or the group’s permission this will dynamically change that group across all projects. In other words if you remove a member from a group they will then no longer have access to any of the projects that group is a part of (unless you have added them to that project as an individual user)