Adding someone to your Organisation
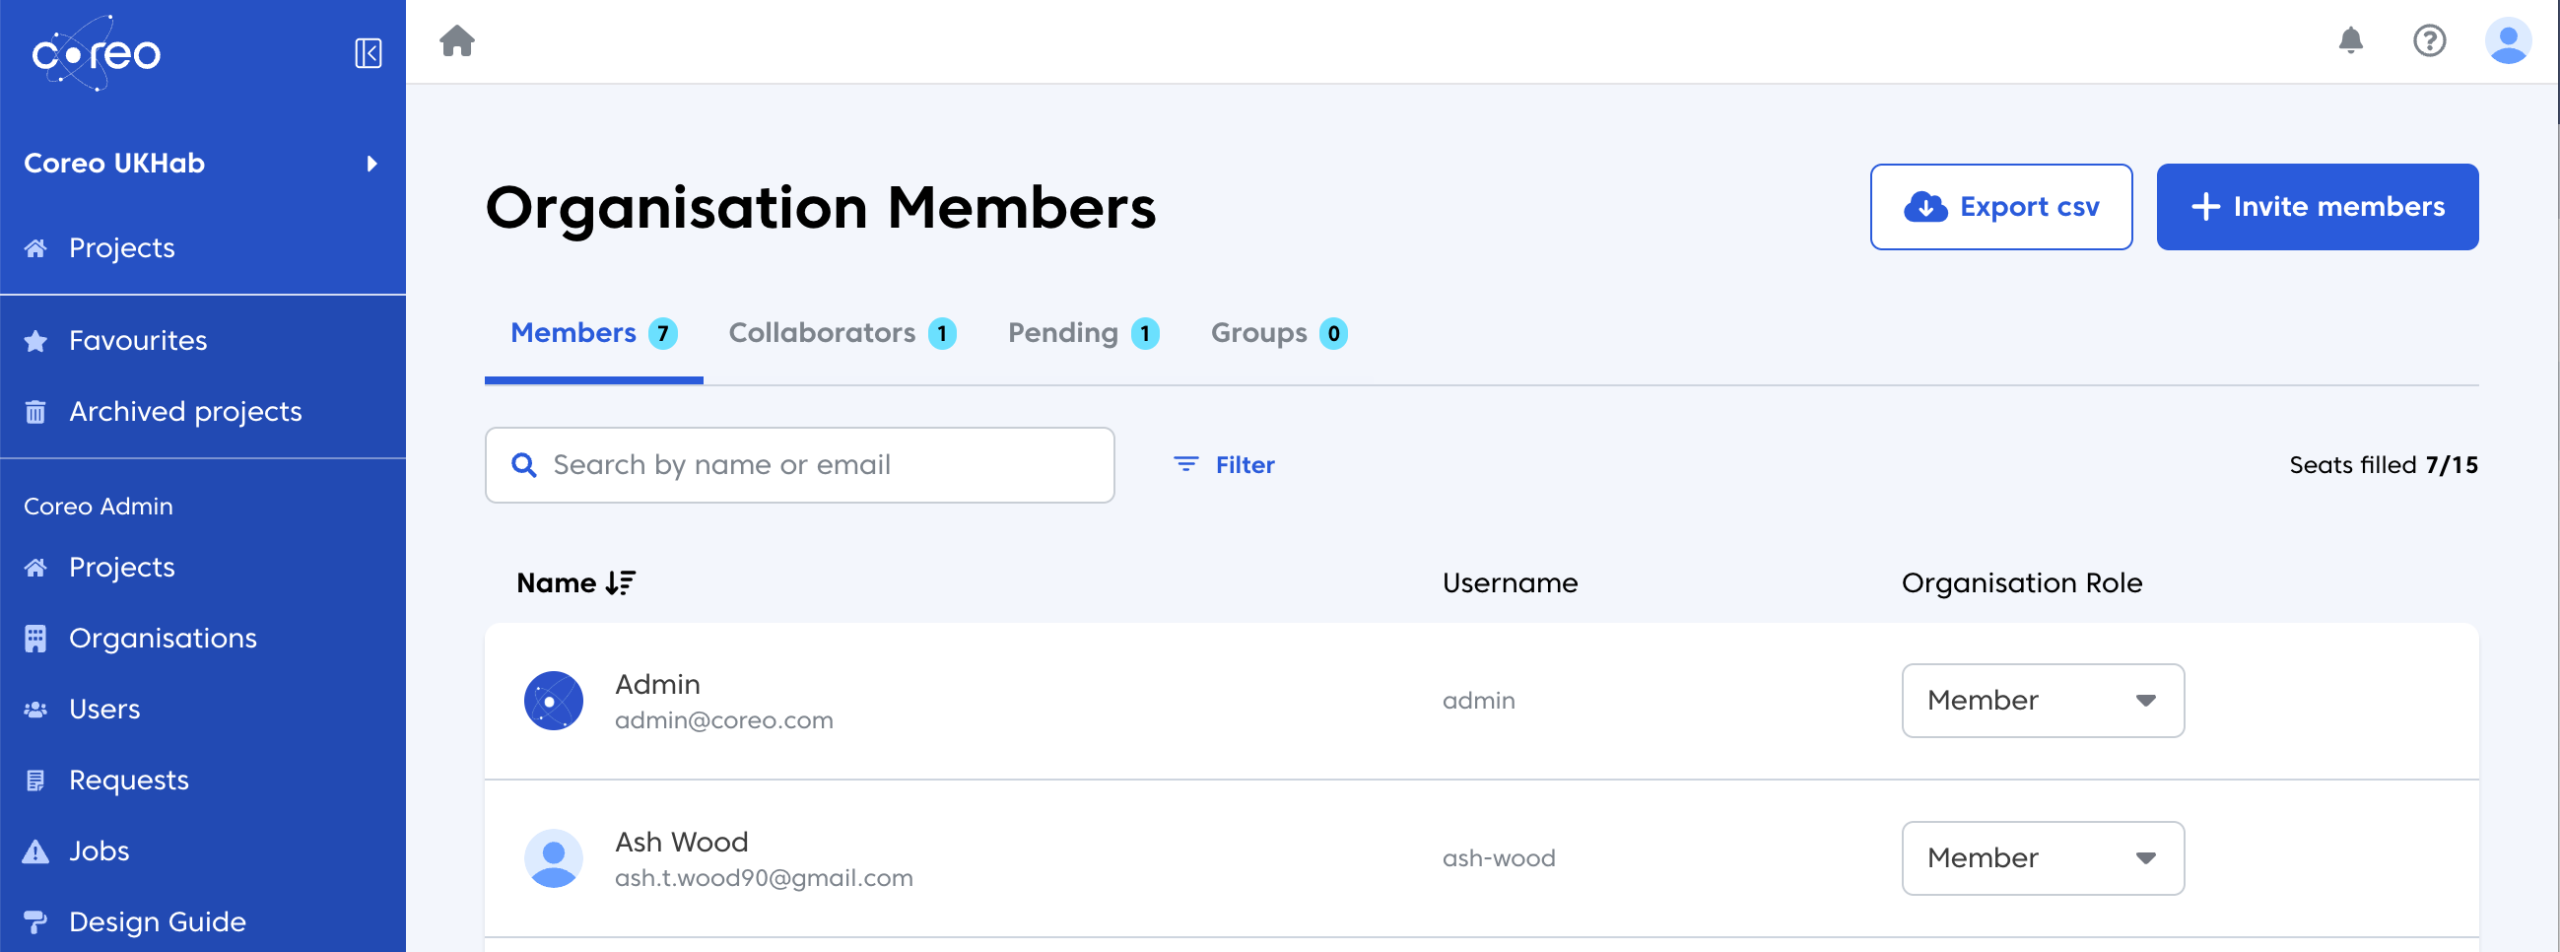
- From the Home page of your account, select your Organisation in the side-panel.

- Next, choose the “Organisation Members” button.

- On this page you can see all of the details about members within your Organisation, including how many ‘seats’ you have purchased and how many are occupied.
- Click the “Invite members” button – the Invite Member modal then appears.
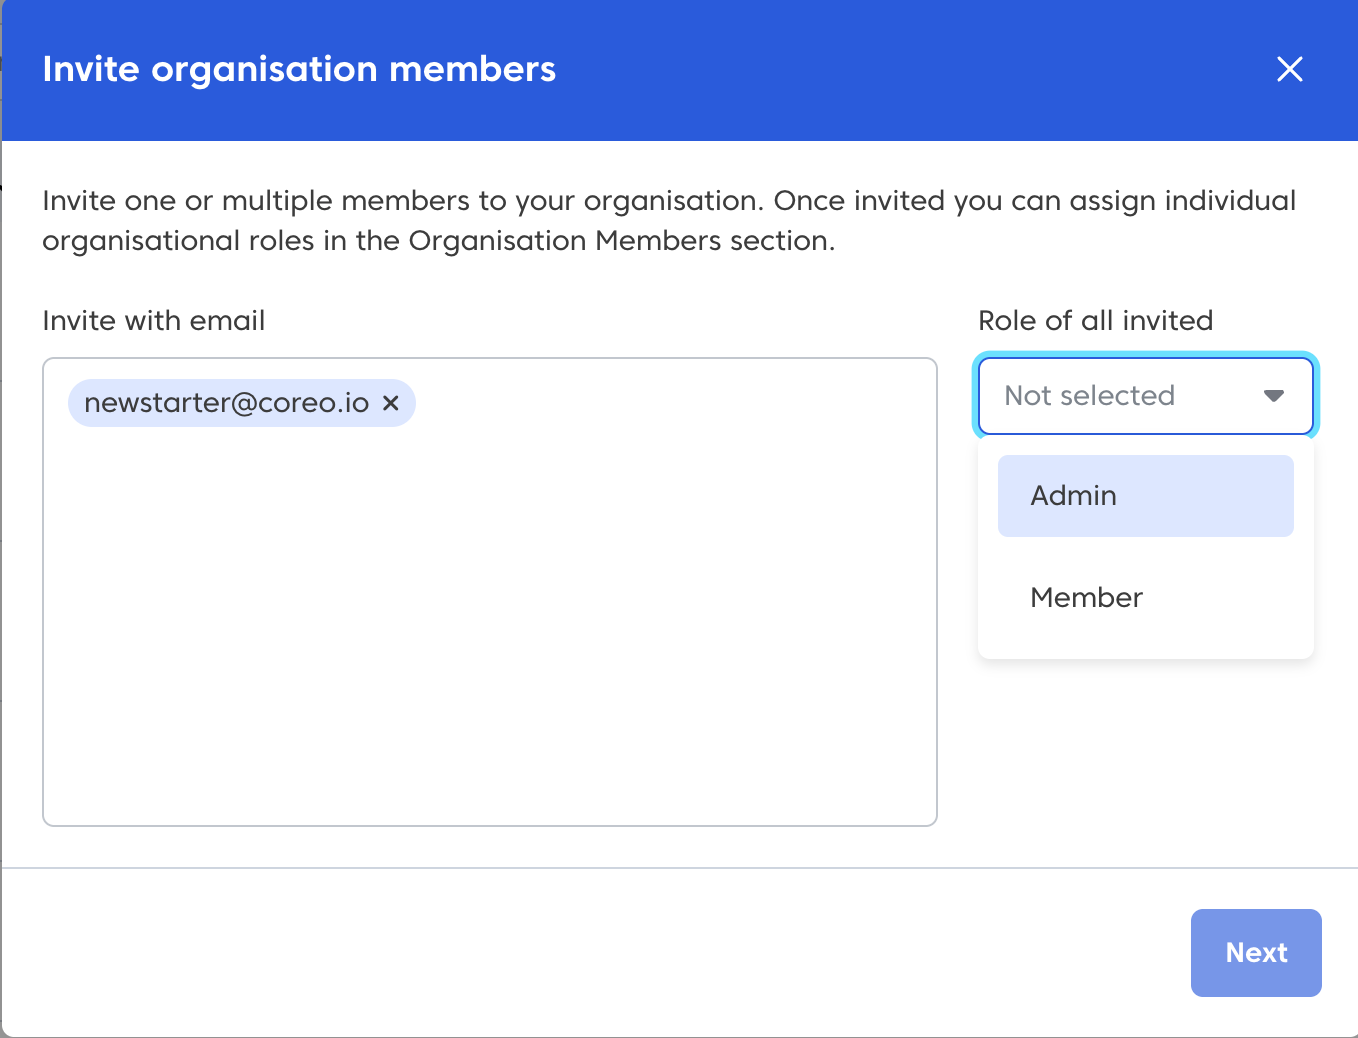
- Type in the name and email addresses of the person/people you wish to invite.
- Select whether you would like to make them a Member or an Administrator of your organisation.
- Admins can manage users and create new projects.
- Members are only able to belong to (and therefore use) the projects you invite them to.
Adding a new user to existing projects
If you have already created some projects you can now assign access to the relevant ones.
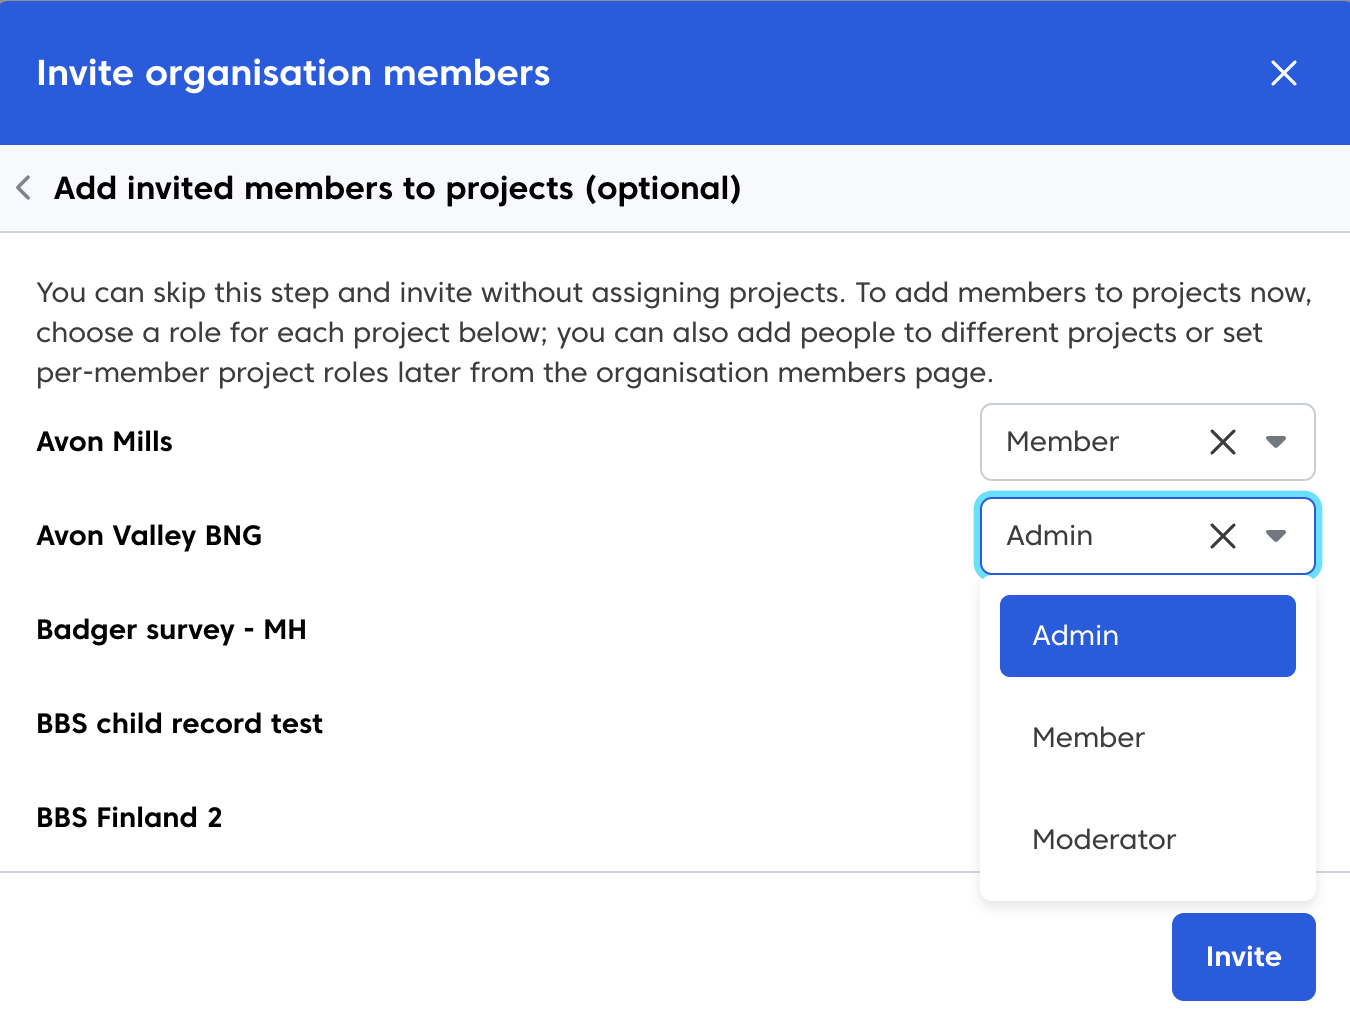
There are 3 roles:
Member:
Members are the basic users of a project. Members may submit and view records via the Coreo app, as well as explore (but not edit) records in the admin area.
Moderator:
Moderators are responsible for managing the records submitted via the Coreo app. Moderators are able to view and edit records, as well as label them (for verification purposes, amongst others). Additionally moderators can generate exports of all the records belonging to a project. However, apart from the user identifier, other user information will be omitted.
Like project members they can also view and submit records via the Coreo App.
Admin:
Admins have all the permissions of a moderator as well as the following:
- Project admins have full control over the project structure and are able to create, update and delete forms, pages, record statuses and collections and are also able to update the project’s appearance and details.
- Project admins are also responsible for managing the users of a project, and can add or remove (or downgrade to a contributor if a record is present, see below) users from a project, as well as manage the roles of these users.
- Project admins are able to export all records including user information.
If you have no projects yet, you can skip this stage.
Once you have completed these steps you simply press the “Send invite” button.
The person you have invited will now receive an email with a link to accept the invitation. Once accepted you will receive an email to inform you. They will see any projects that you have given them access to in their Projects list within the Coreo Admin Area (website) and Coreo app.